
This Integration can be applied to the following Products: Agency Life Quoter (ALQ), Mobile App, Website Quoter.
1. Go to https://www.123contactform.com/ and create an account.
2. Check your email and confirm account creation.
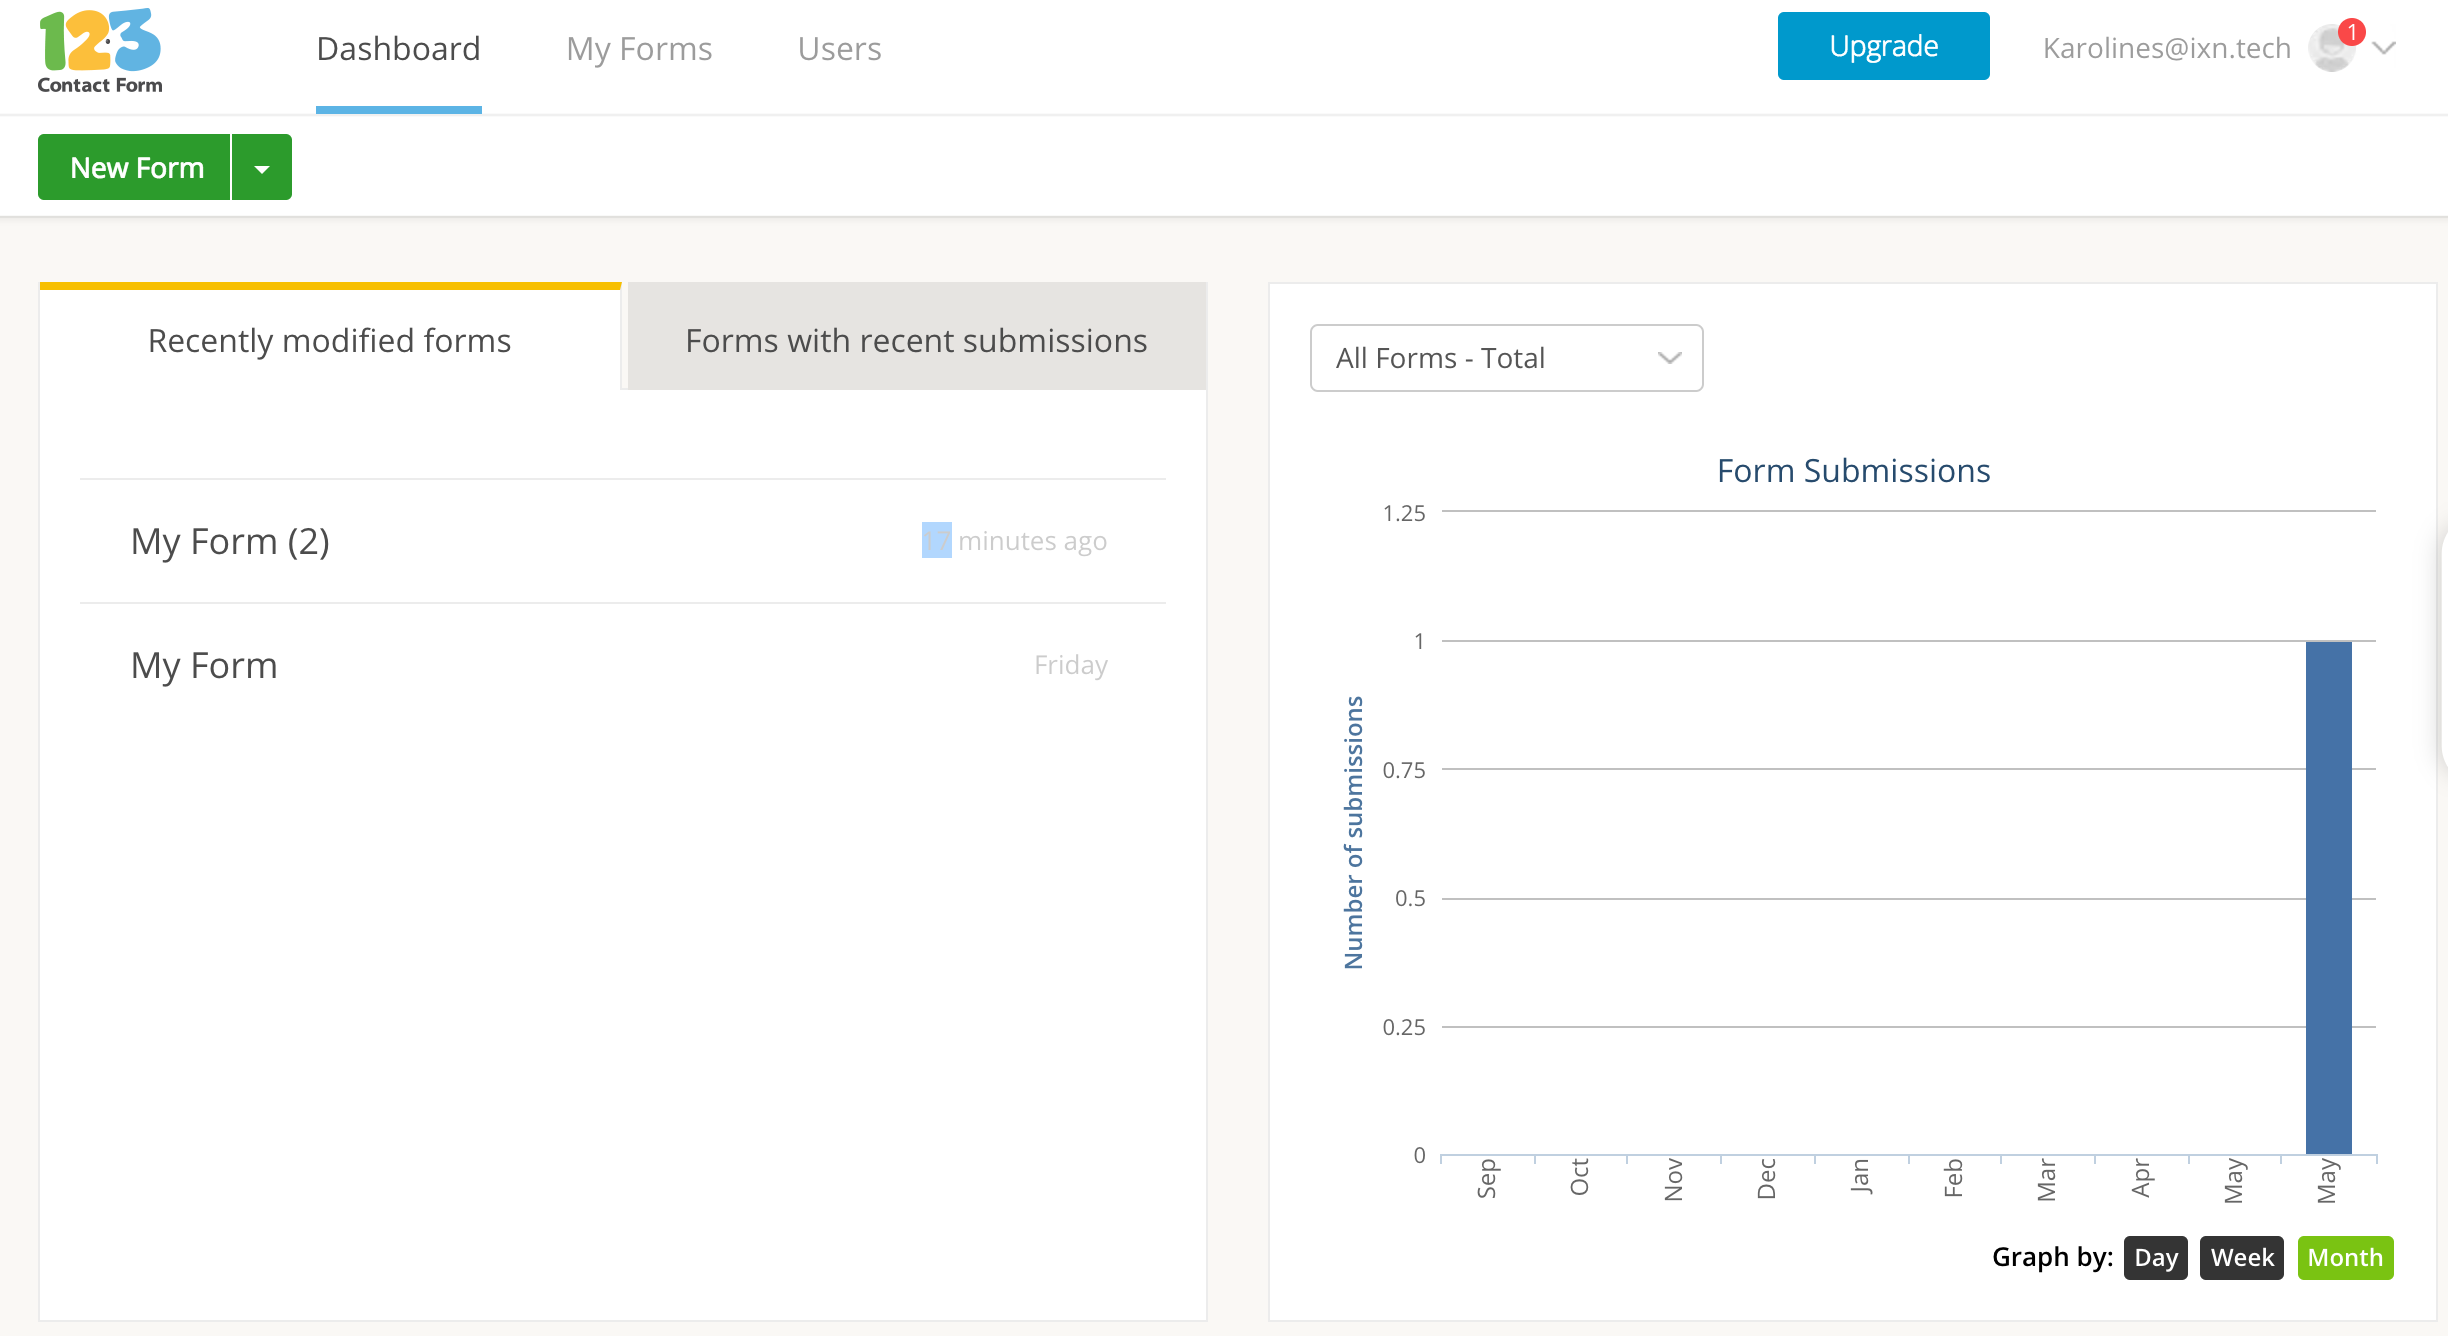
3. Once confirmed, login to your 123 Contact Form account.
4. Click "New Form" in the upper lefthand corner.
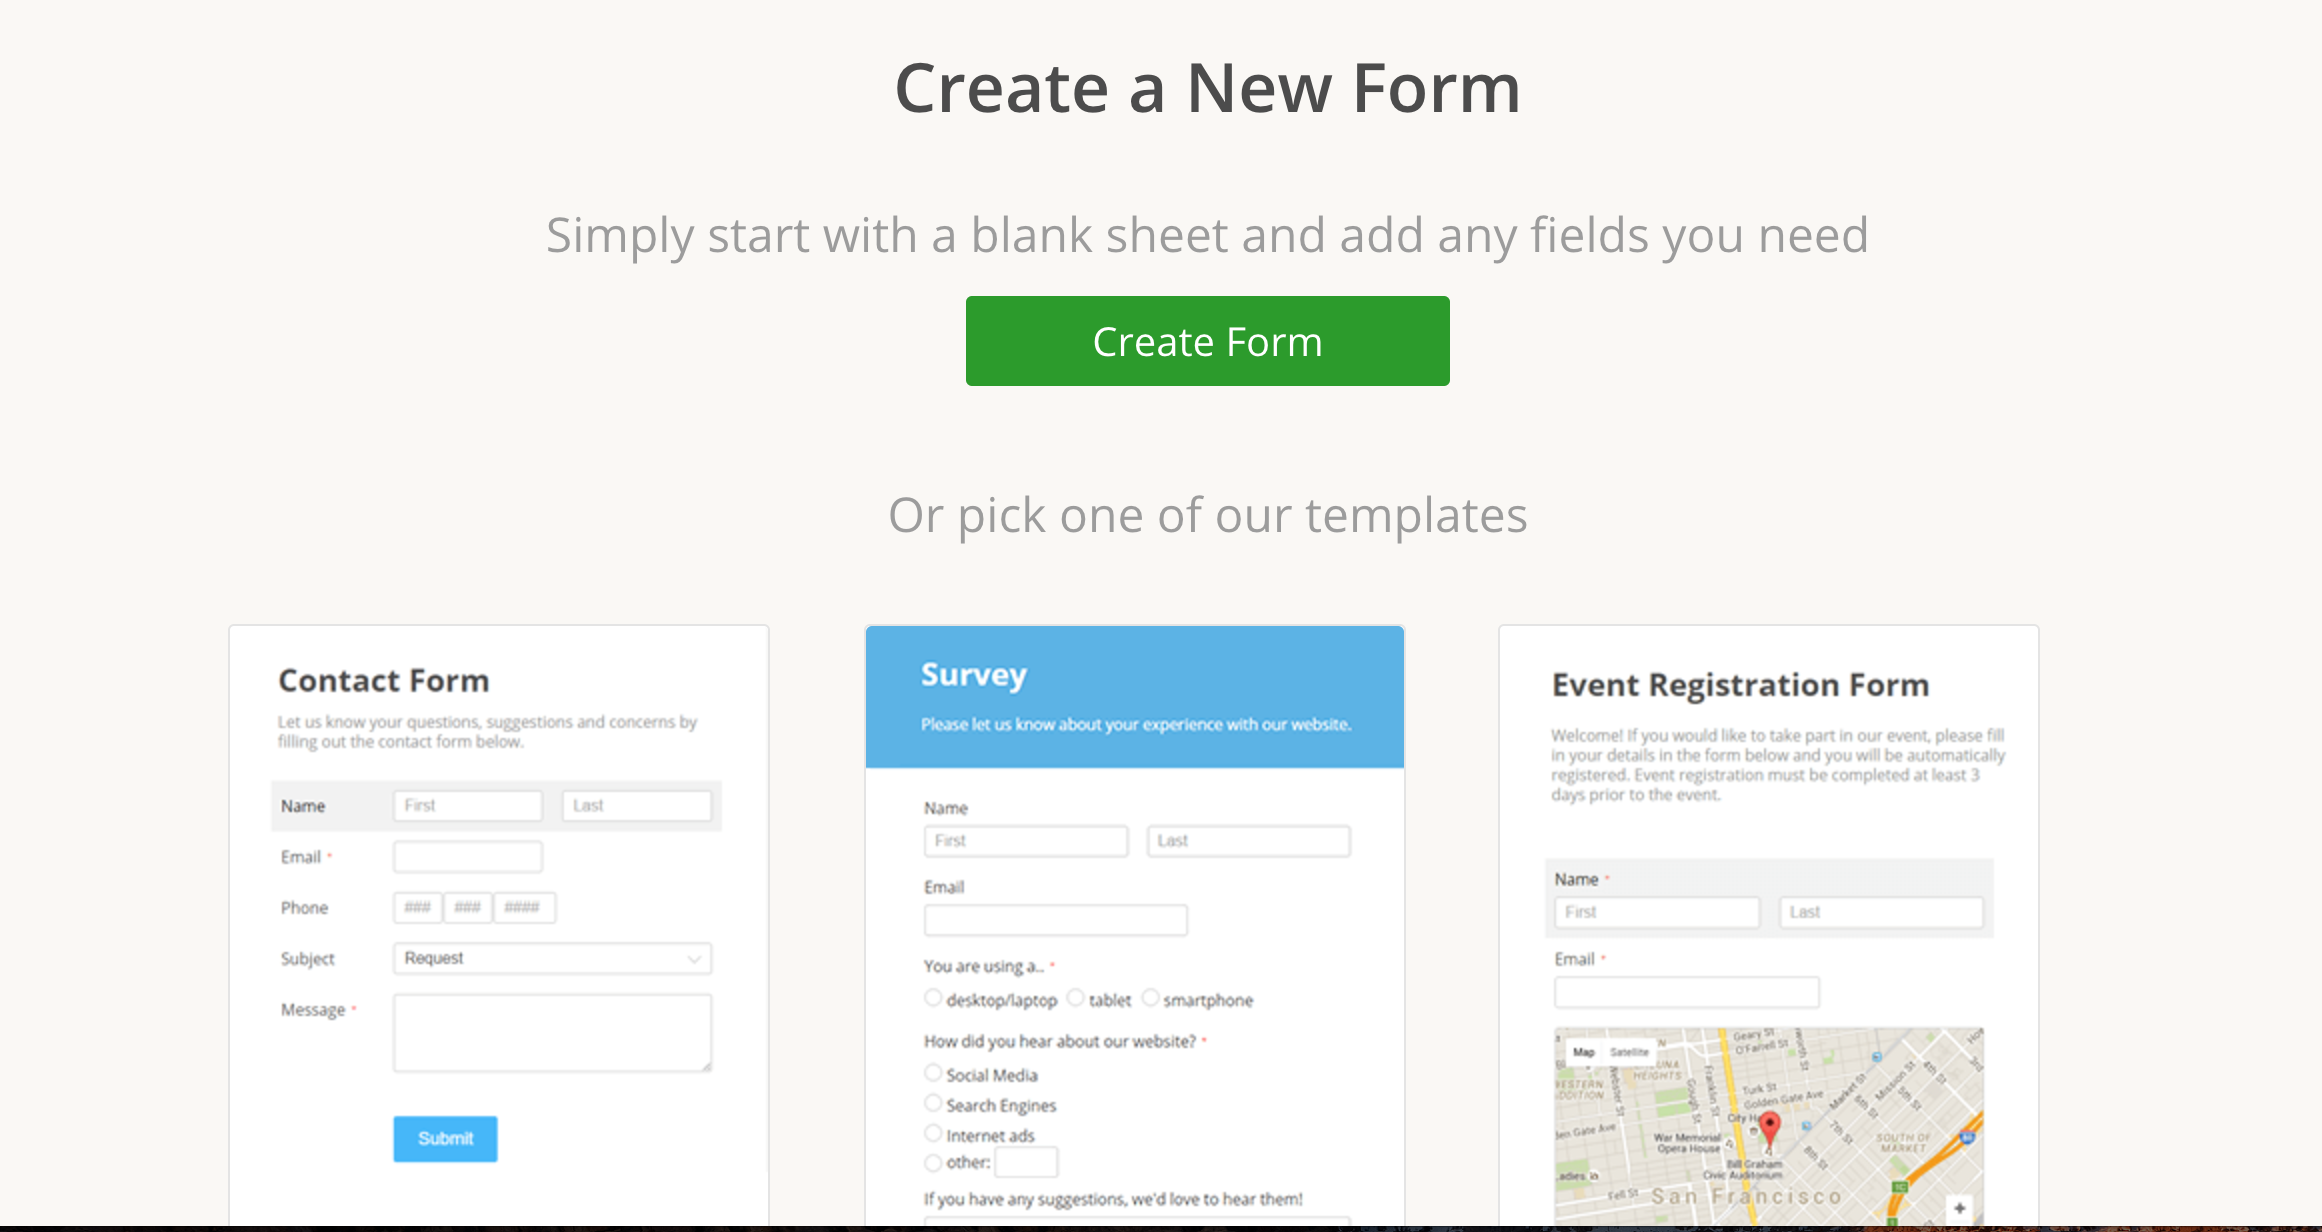
5. You will now choose a blank form or form template. For this tutorial we will just use a blank form. Click "Create Form" at the center of the screen.
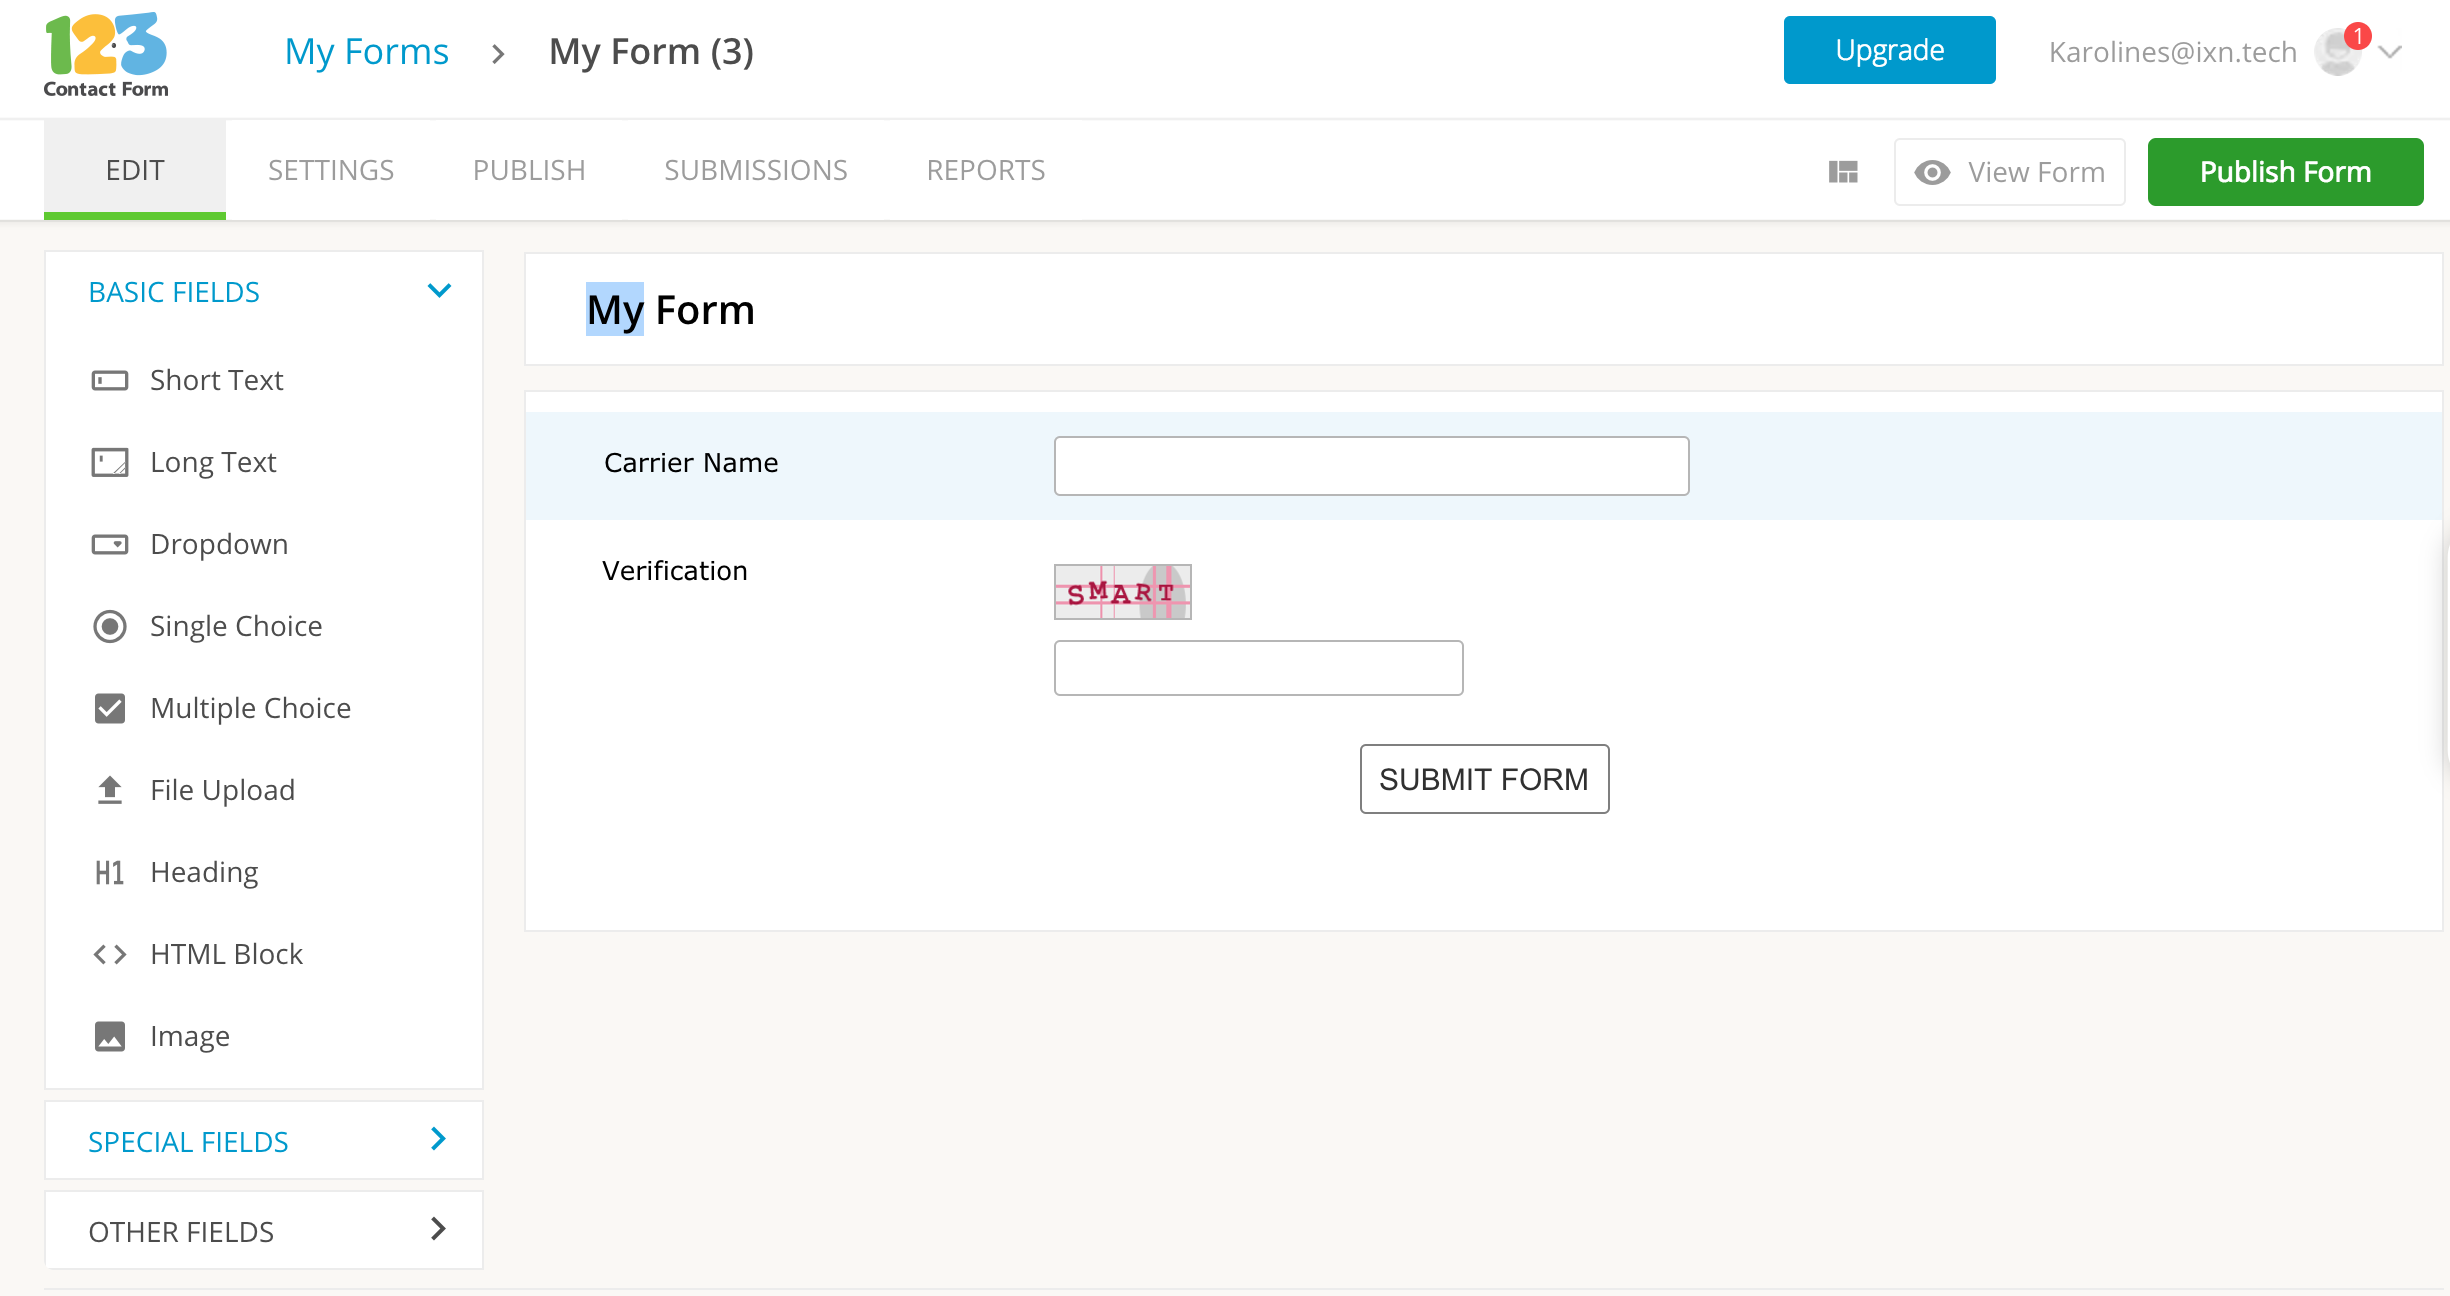
6. Now lets add fields to our form! Simply click "Short Text" under basic fields on the left side of the screen.

7. You will see the new field on the right of the screen. Click "Untitled" to edit the field.

8. A tool bar to edit the field should appear on the left of the screen. Rename the field "Carrier Name" under where it says "Label".

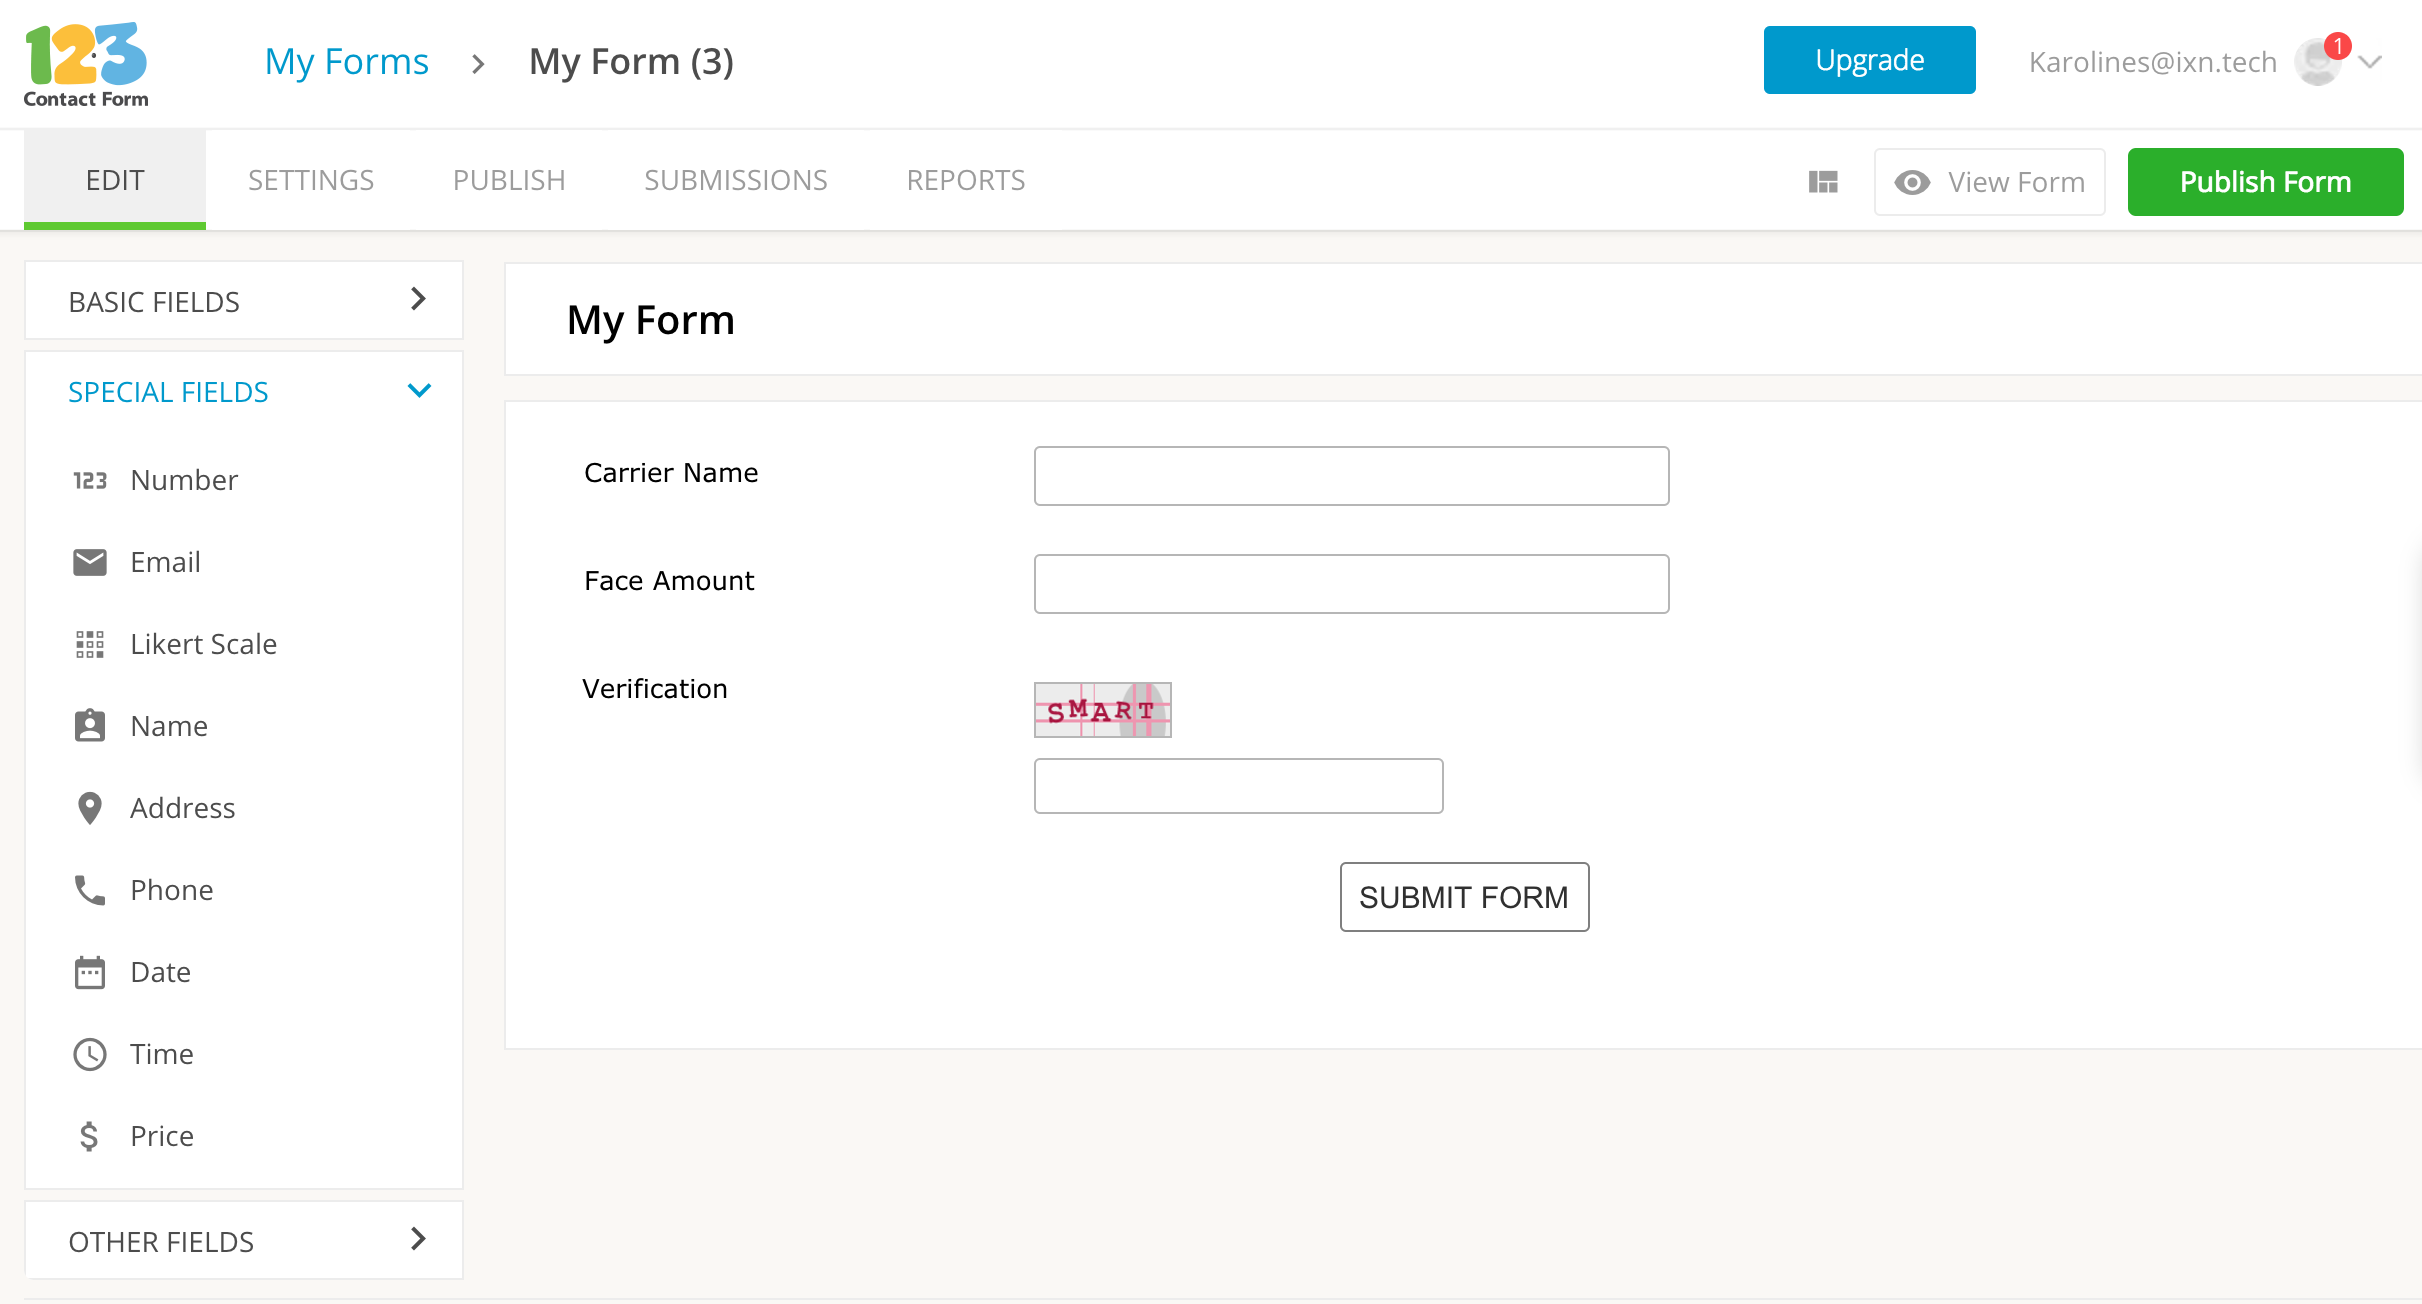
9. Lets add another field. To do so, click "ADD FIELDS" in the upper lefthand corner.
10. We are now going to add a number field. Click "SPECIAL FIELDS" on the lefthand side of the screen. Then click "Number".
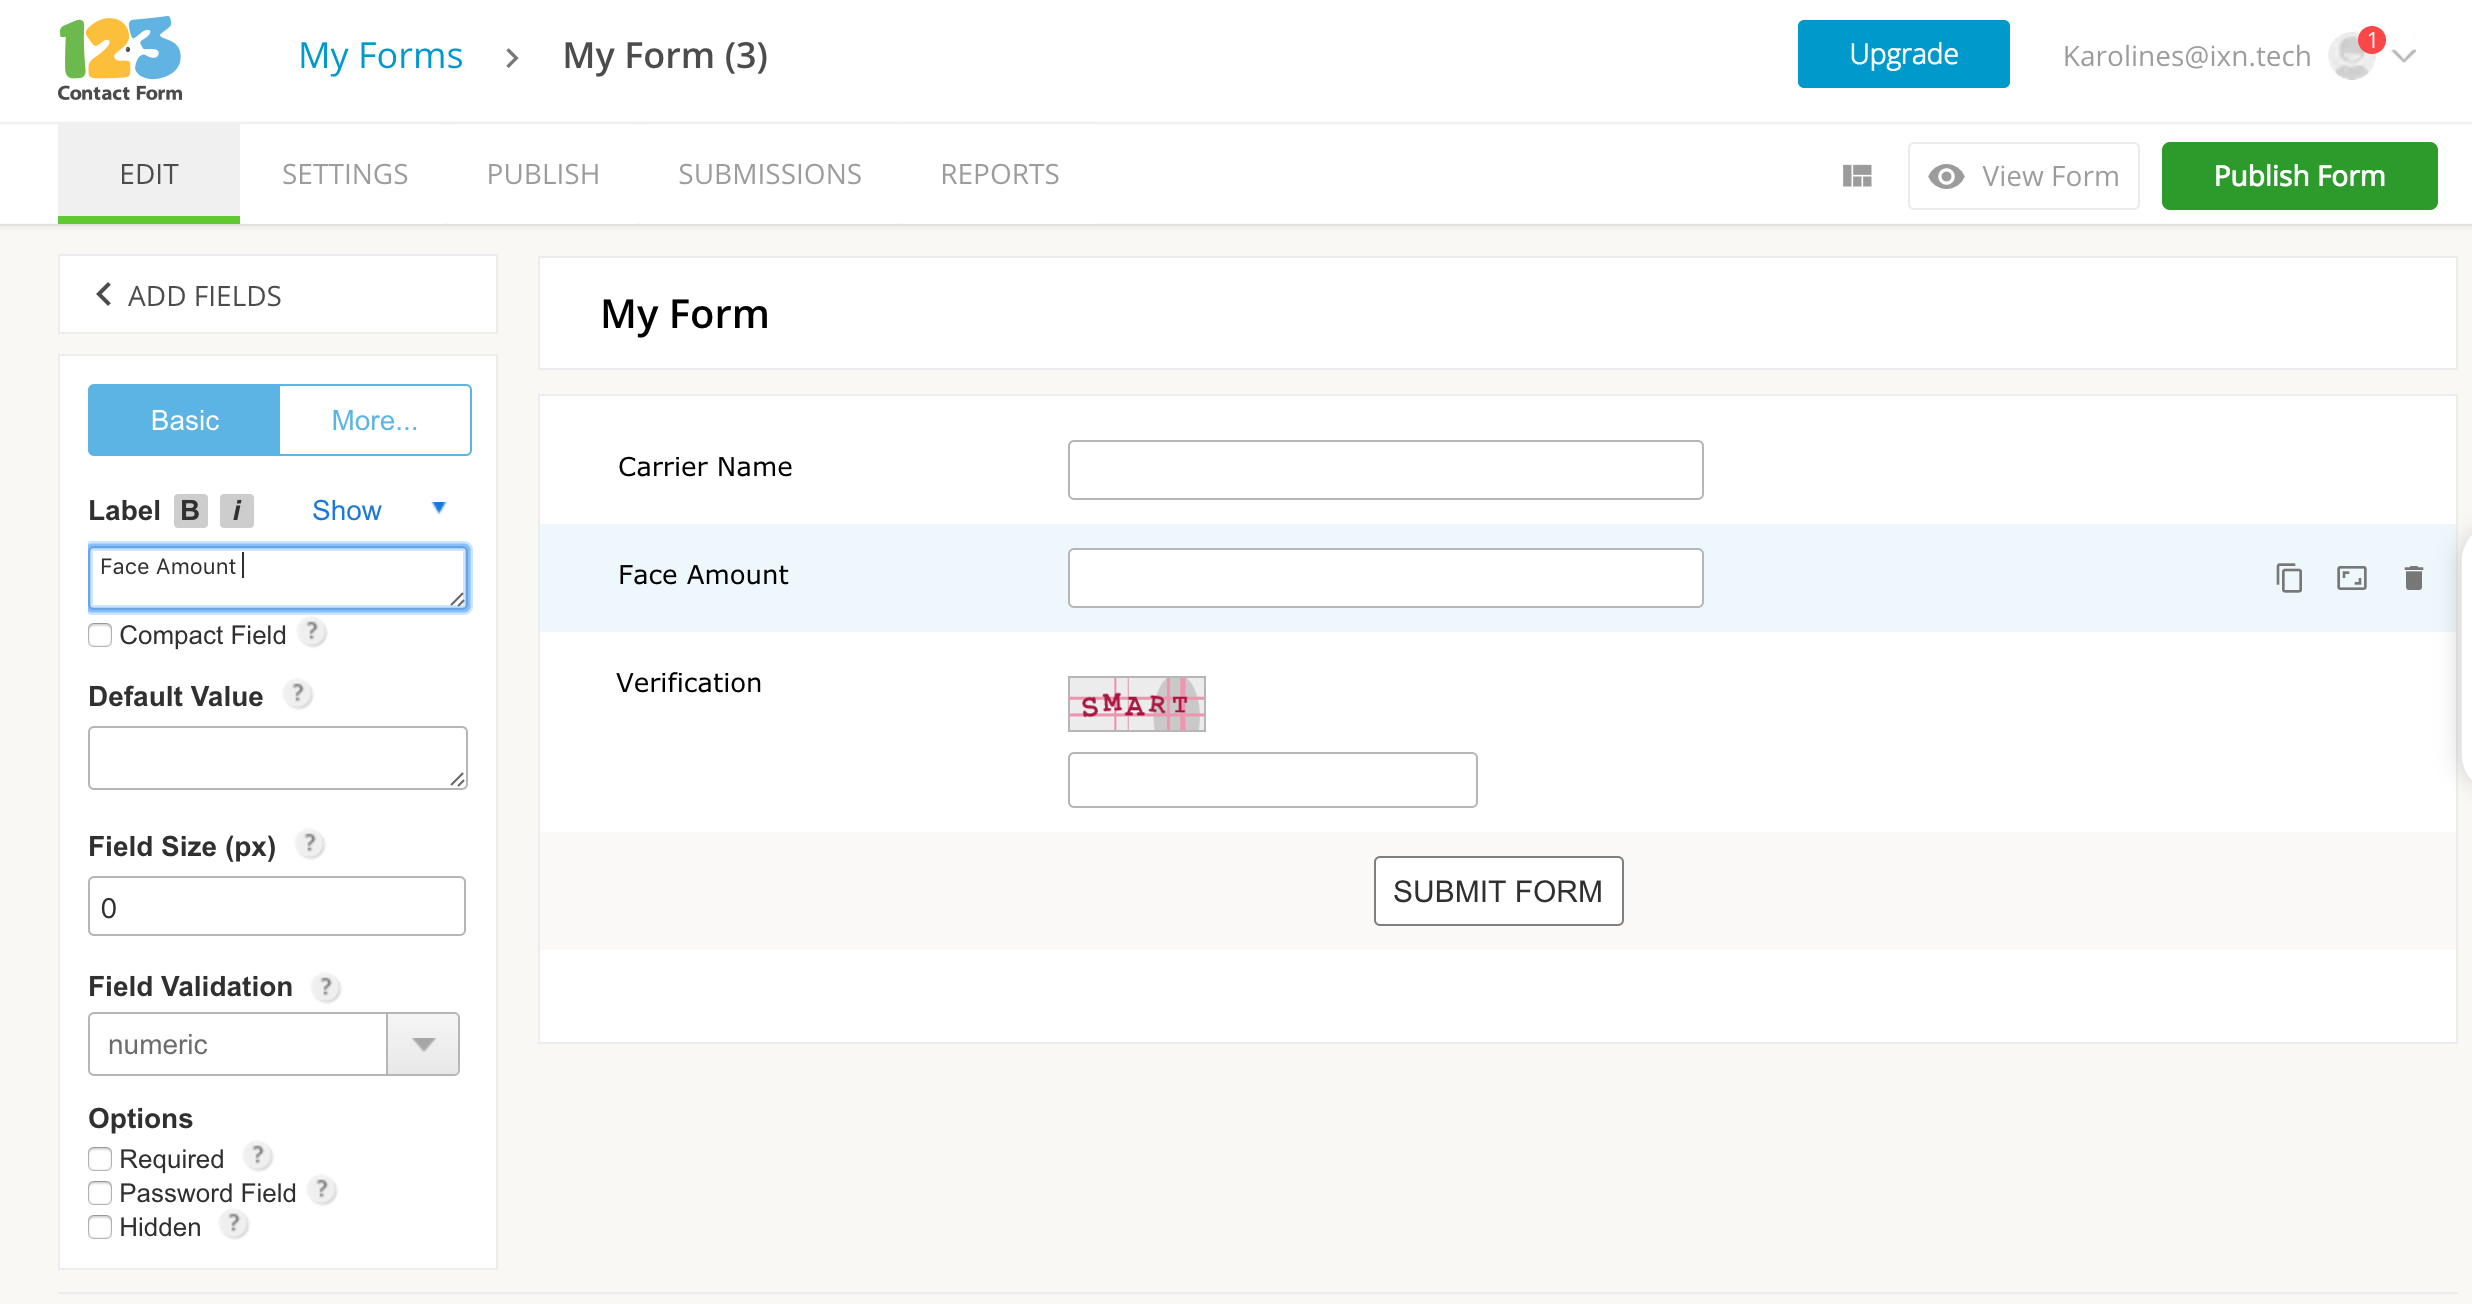
11. Click the "Number" field to change the name (like we did in step 7).
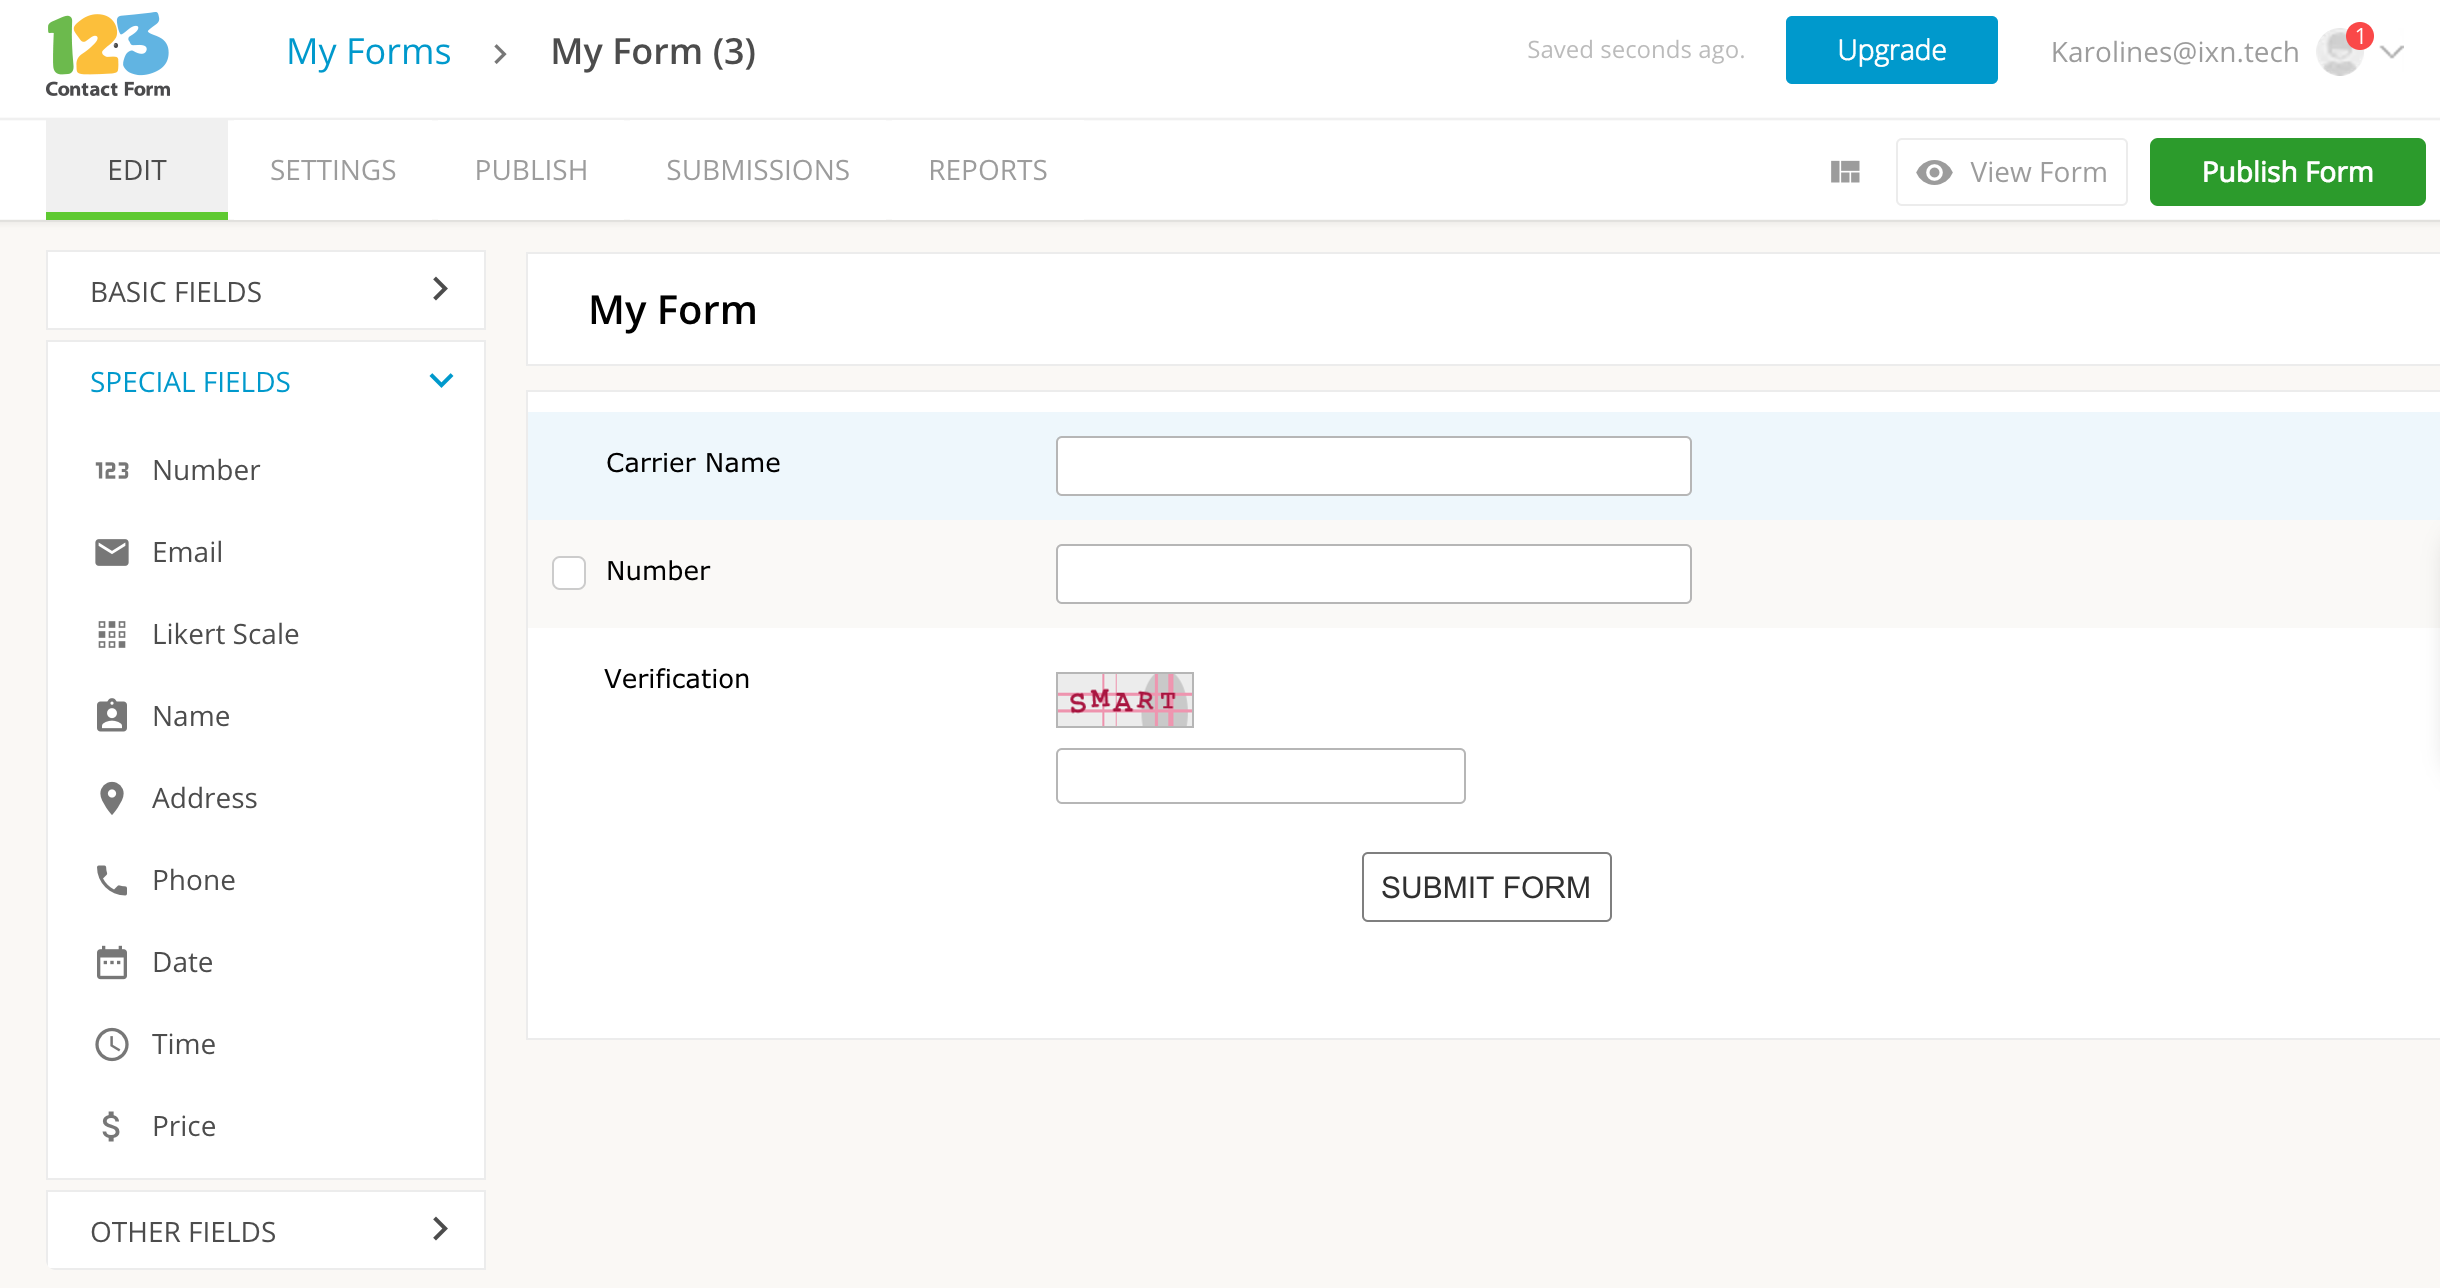
12. The tool bar that allows you to edit fields will appear on the left of the screen. Enter "Face Amount" under where it says "Label".
13. If you would like to add any other fields, repeat steps 6-12 depending on what type of field it is. The chart below lists the other possible fields you can use. Make sure the field name and field type are correct.
Product Information
| Field Name | Field Title | Field Type |
| ADB Rider Annual | |*adb_rider_annual*| | Number |
| ADB Rider Max Coverage | |*adb_rider_max_coverage*| | Number |
| ADB Rider Monthly | |*adb_rider_monthly*| | Number |
| ADB Rider Quarterly | |*adb_rider_quarterly*| | Number |
| ADB Rider Semi-Annual | |*adb_rider_semi_annual*| | Number |
| Age Rate | |*age_rate*| | Number |
| AM Best Date | |*am_best_date*| | Date |
| AM Best Rating | |*am_best_rating*| | Short Text |
| Base Premium Annual | |*base_premium_annual*| | Number |
| Base Premium Monthly | |*base_premium_monthly*| | Number |
| Base Premium Quarterly | |*base_premium_quarterly*| | Number |
| Base Premium Semi-Annual | |*base_premium_semi_annnual*| | Number |
| Carrier Health Category | |*carrier_health_category*| | Short Text |
| Carrier ID | |*carrier_id*| | Number |
| Carrier Name | |*carrier_name*| | Short Text |
| Child Rider Annual | |*child_rider_annual*| | Number |
| Child Rider Monthly | |*child_rider_monthly*| | Number |
| Child Rider Quarterly | |*child_rider_quarterly*| | Number |
| Child Rider Semi-Annual | |*child_rider_semi_annual*| | Number |
| Child WOP Rider Annual | |*child_wop_rider_annual*| | Number |
| Child WOP Rider Monthly | |*child_wop_rider_monthly*| | Number |
| Child WOP Rider Quarterly | |*child_wop_rider_quarterly*| | Number |
| Child WOP Rider Semi-Annual | |*child_wop_rider_semi_annual*| | Number |
| Face Amount | |*face_amount*| | Number |
| Flat Extra Annual | |*flat_extra_annual*| | Number |
| Flat Extra Monthly | |*flat_extra_monthly*| | Number |
| Flat Extra Quarterly | |*flat_extra_monthly*| | Number |
| Flat Extra Semi-Annual | |*flat_extra_semi_annual*| | Number |
| Gender | |*gender*| | Short Text |
| Guid | |*guid*| | Short Text |
| IXN Health Category | |*ixn_health_category*| | Short Text |
| Policy Fee Annual | |*policy_fee_annual*| | Number |
| Policy Fee Monthly | |*policy_fee_monthly*| | Number |
| Policy Fee Quarterly | |*policy_fee_quarterly*| | Number |
| Policy Fee Semi-Annual | |*policy_fee_semi_annual*| | Number |
| Premium Annual | |*premium_annual*| | Number |
| Premium Monthly | |*premium_monthly*| | Number |
| Premium Quarterly | |*premium_quarterly*| | Number |
| Premium Semi-Annual | |*premium_semi_annual*| | Number |
| Product ID | |*product_id*| | Number |
| Product Name | |*product_name*| | Short Text |
| Product Type | |*product_type*| | Short Text |
| Rate Age | |*rate_age*| | Number |
| Table Rate Annual | |*table_rate_annual*| | Number |
| Table Rate ID | |*table_rate_id*| | Number |
| Table Rate Letter | |*table_rate_letter*| | Short Text |
| Table Rate Monthly | |*table_rate_monthly*| | Number |
| Table Rate Percent | |*table_rate_percent*| | Number |
| Table Rate Quarterly | |*table_rate_quarterly*| | Number |
| Table Rate Semi-Annual | |*table_rate_semi_annual*| | Number |
| WOP Rider Annual | |*wop_rider_annual*| | Number |
| WOP Rider Monthly | |*wop_rider_monthly*| | Number |
| WOP Rider Quarterly | |*wop_rider_quarterly*| | Number |
Quote Information
| Field Name | Field Title | Field Type |
| Age Type | |*age_type*| | Short Text |
| Agent Email (mobile only) | |*agent_email*| | Short Text |
| Agent First Name (mobile only) | |*agent_first_name*| | Short Text |
| Agent Last Name (mobile only) | |*agent_last_name*| | Short Text |
| Agent Phone (mobile only) | |*agent_phone*| | Short Text |
| Current Age | |*current_age*| | Number |
| Date Of Birth | |*date_of_birth*| | Short Text |
| DOB Day | |*dob_day*| | Number |
| DOB Month | |*dob_month*| | Number |
| DOB Year | |*dob_year*| | Number |
| First Name | |*first_name*| | Short Text |
| Last Name | |*last_name*| | Short Text |
| Nearest Age | |*nearest_age*| | Number |
| Referrer URL | |*referrer_url*| | Short Text |
| State | |*state*| | Short Text |
| Tobacco | |*tobacco*| | Short Text |
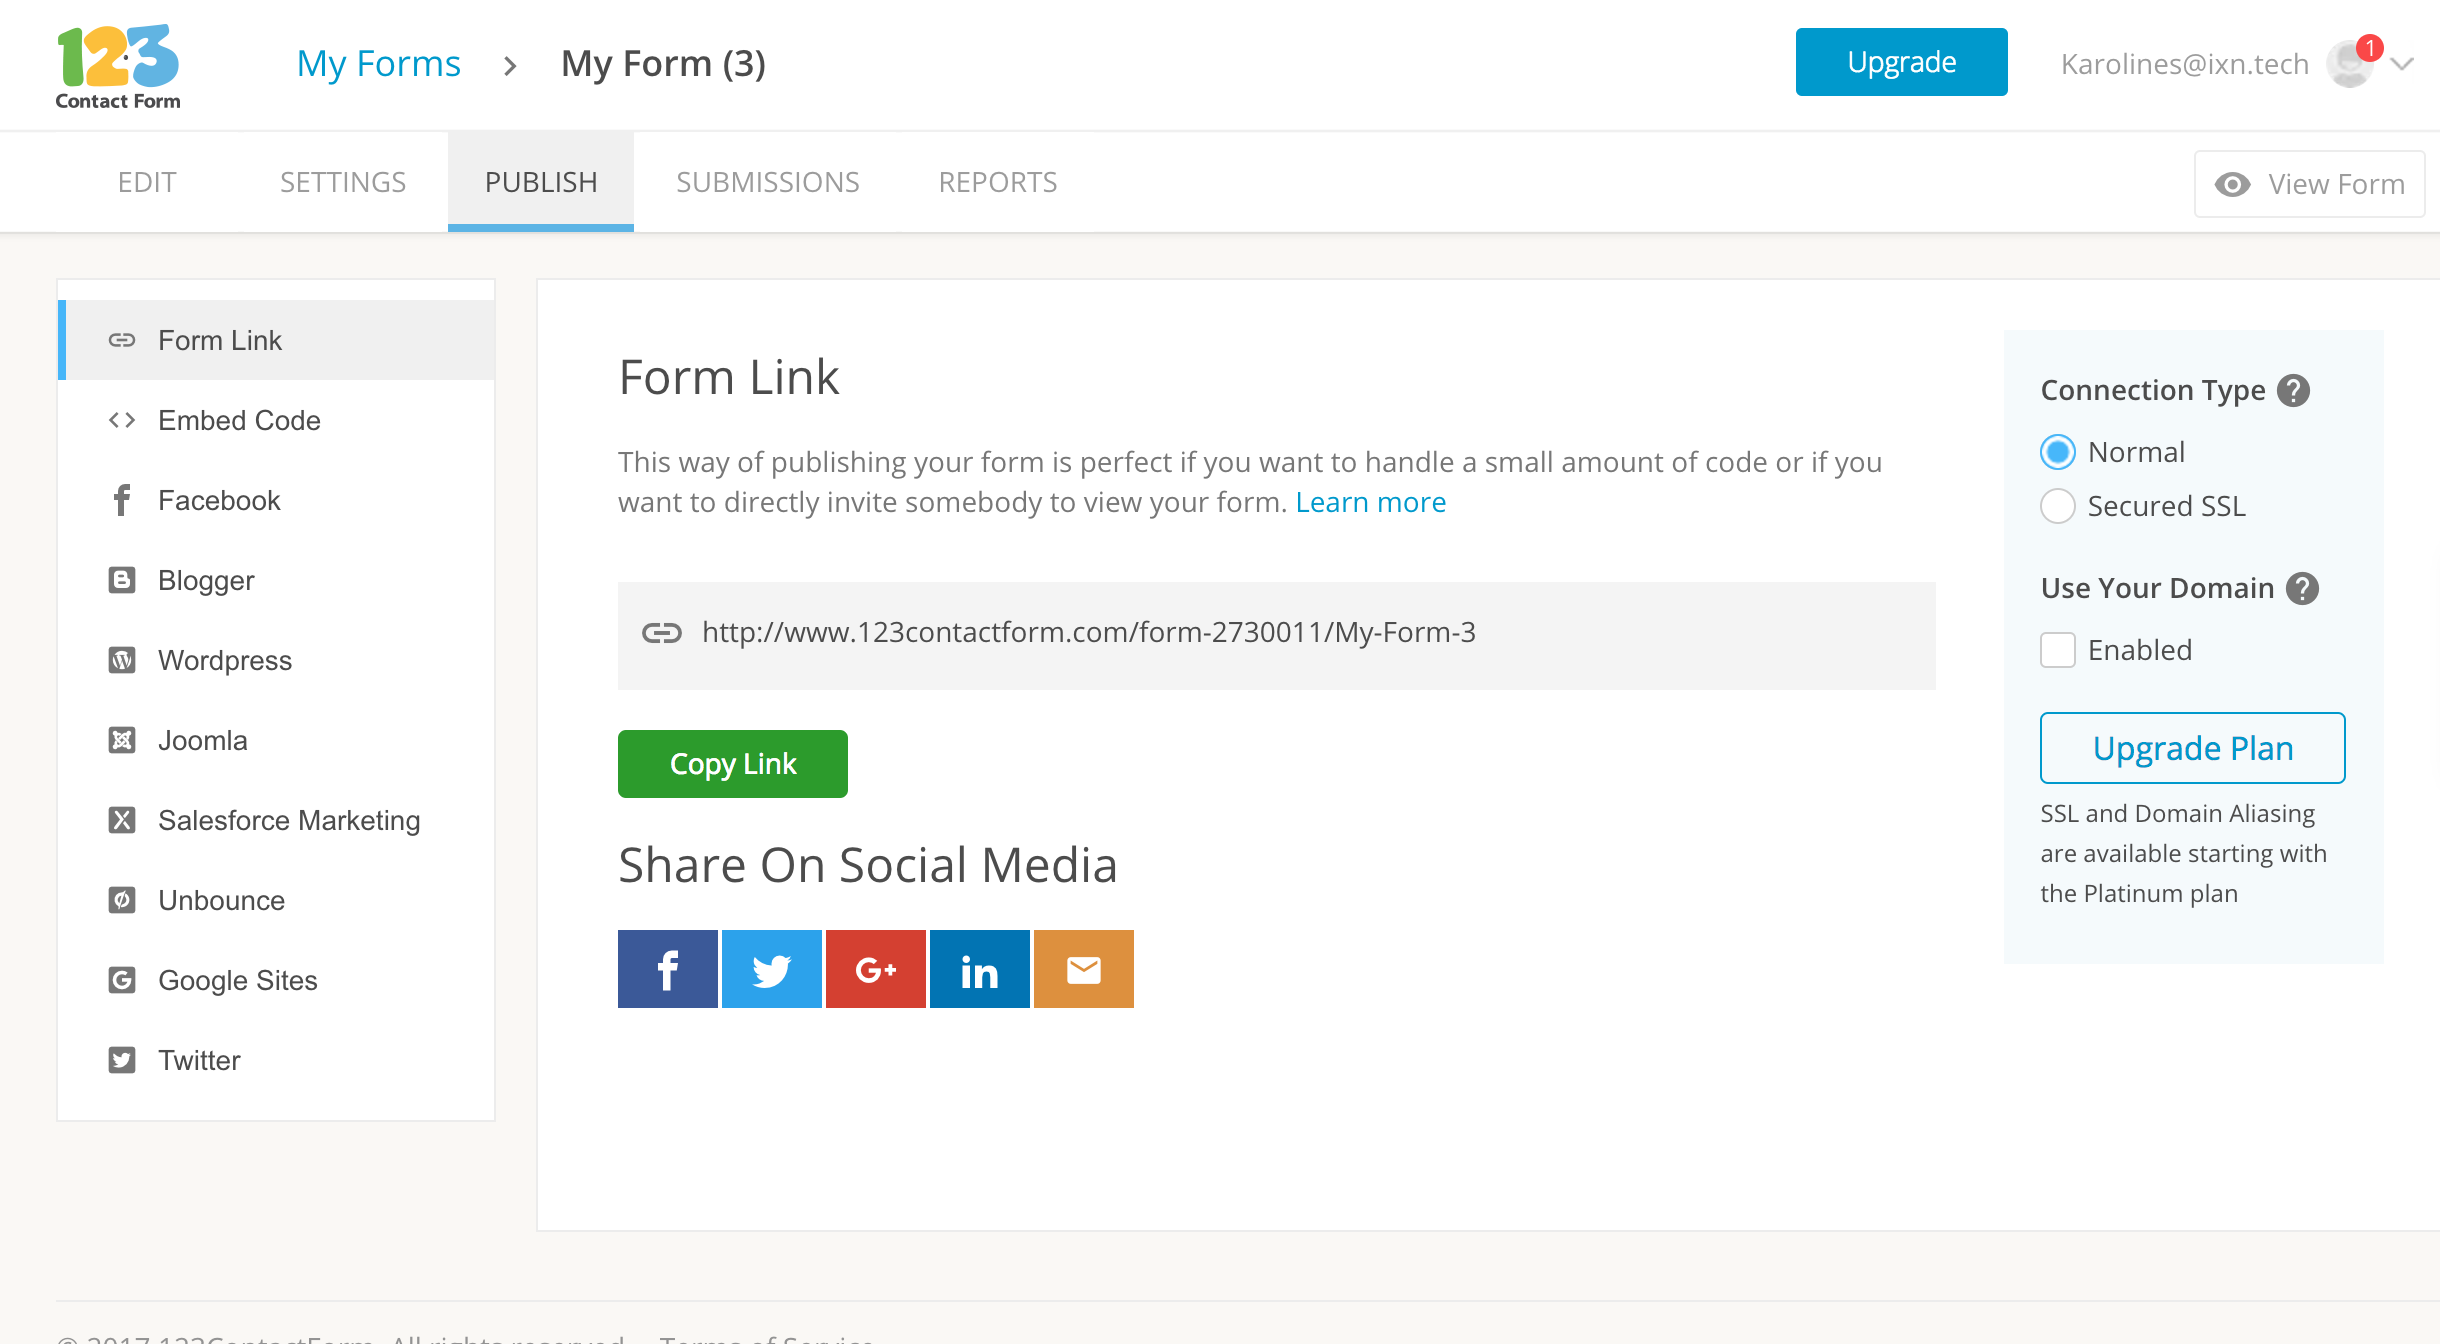
14. Once you are done adding fields, click "Publish Form" in the right-hand corner.
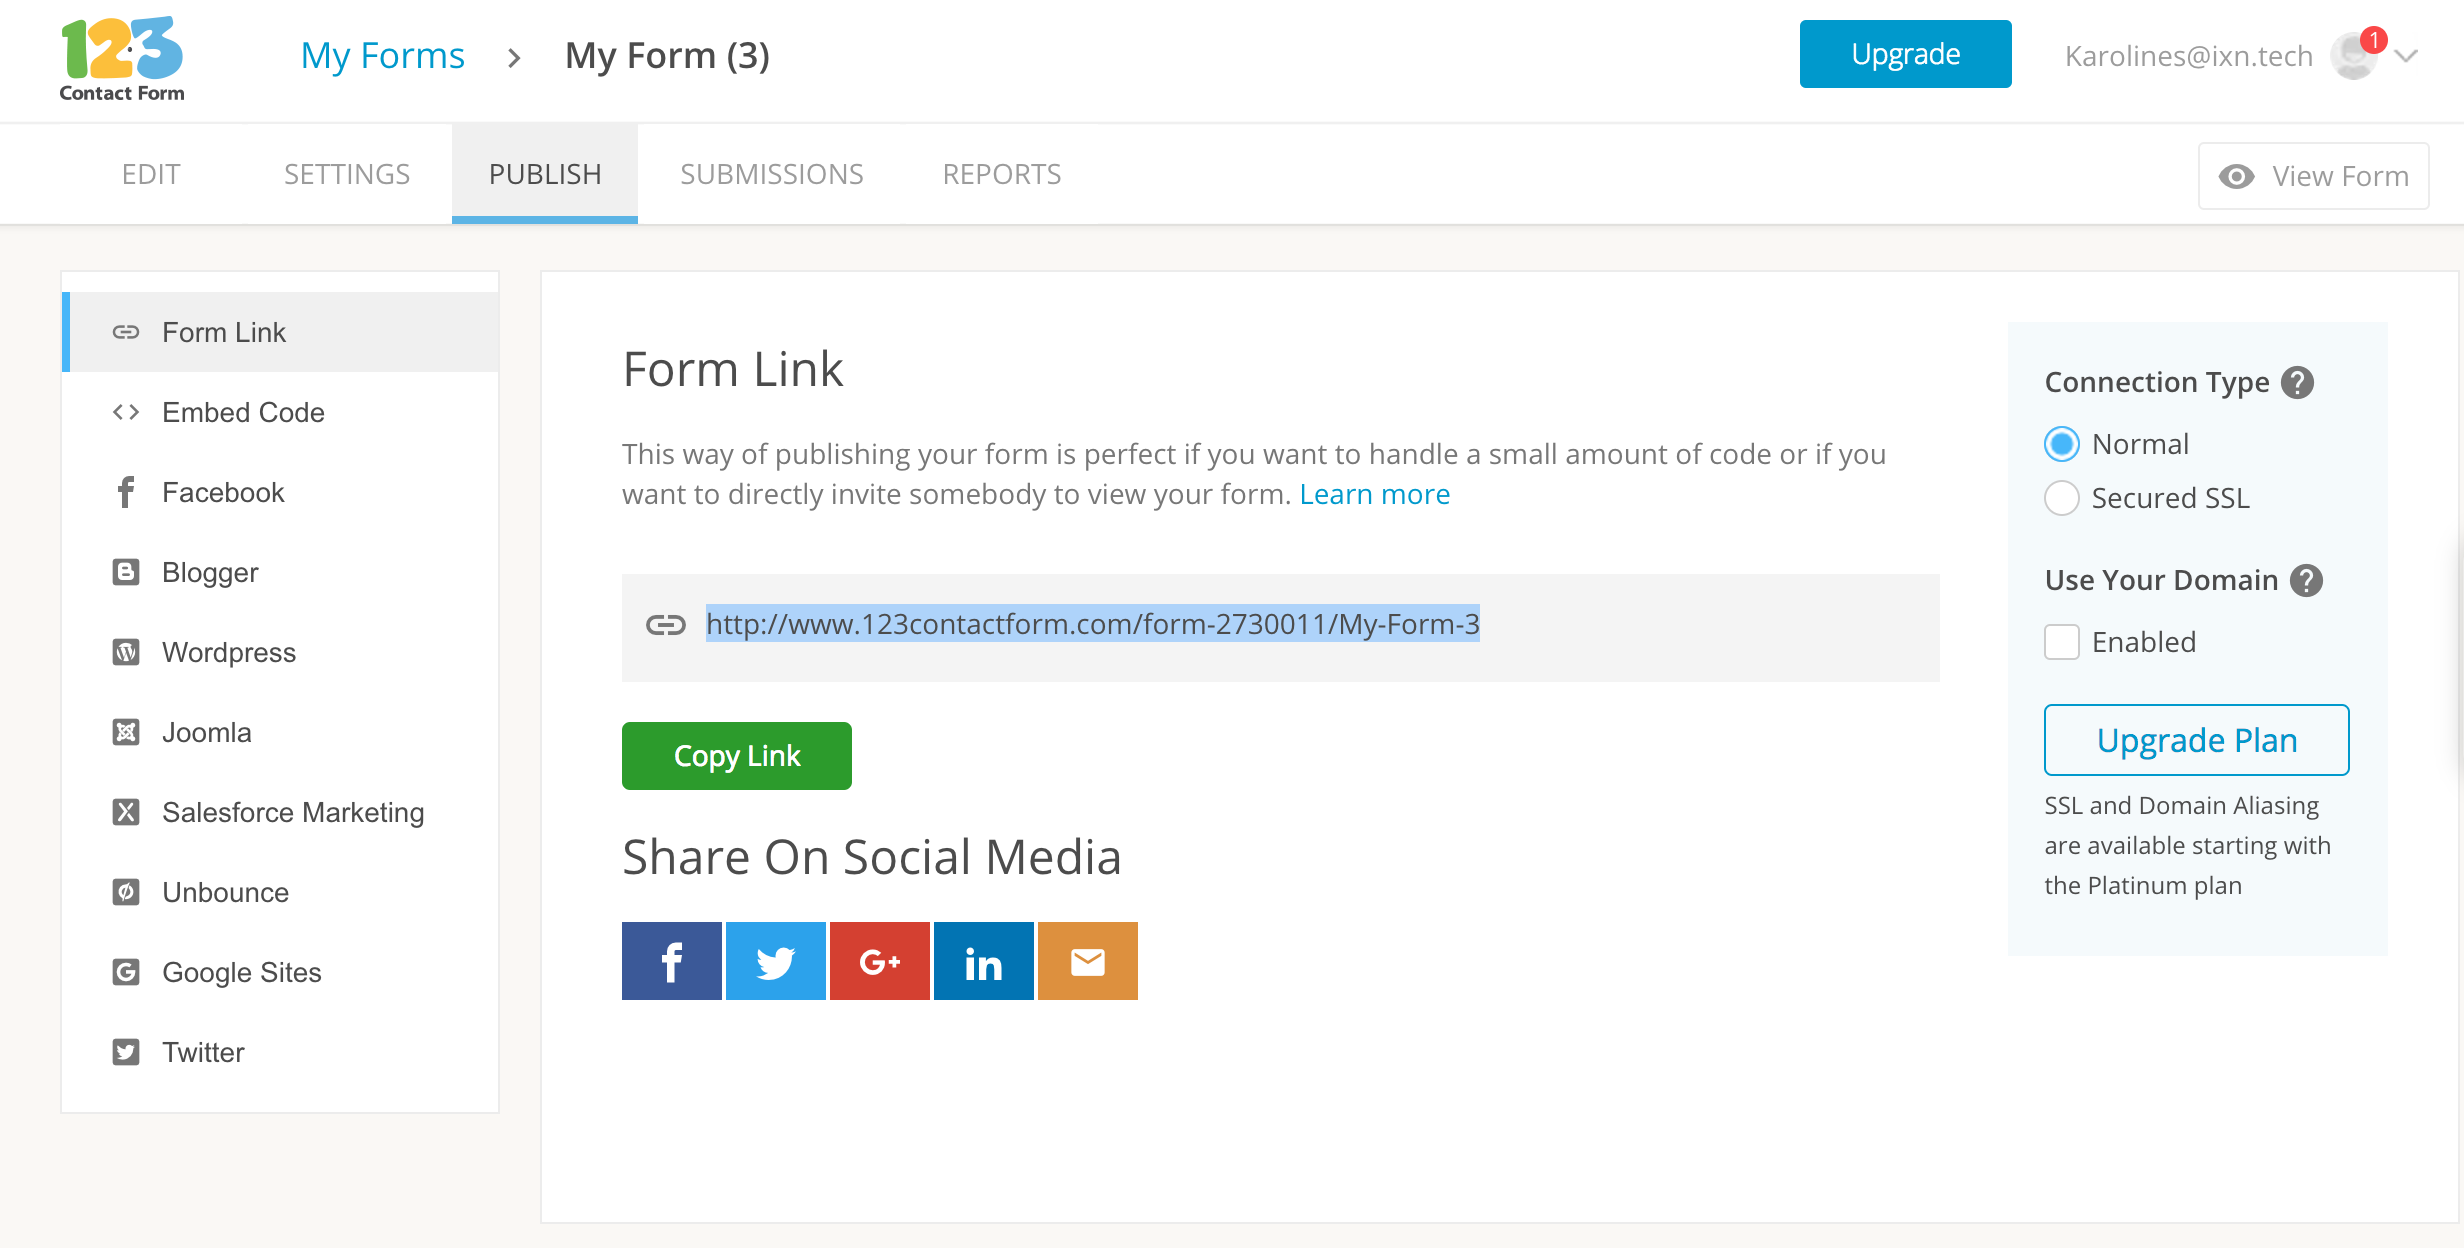
15. You will now see the screen below. Press "Copy Link" to copy the URL.
16. We will now change the content of this URL. This step is very important so follow along carefully. Open a new tab and paste this link in the search bar.

Next, type "sf.php?s=" after ".com/"
It should look like this now:
Next, delete "/My-Form-3" at the end of the URL. This is the name of the form, and it will be different for you.
It will now look like this:

Now, we are going to go back to the page below. Leave the page with your URL in the search bar open.
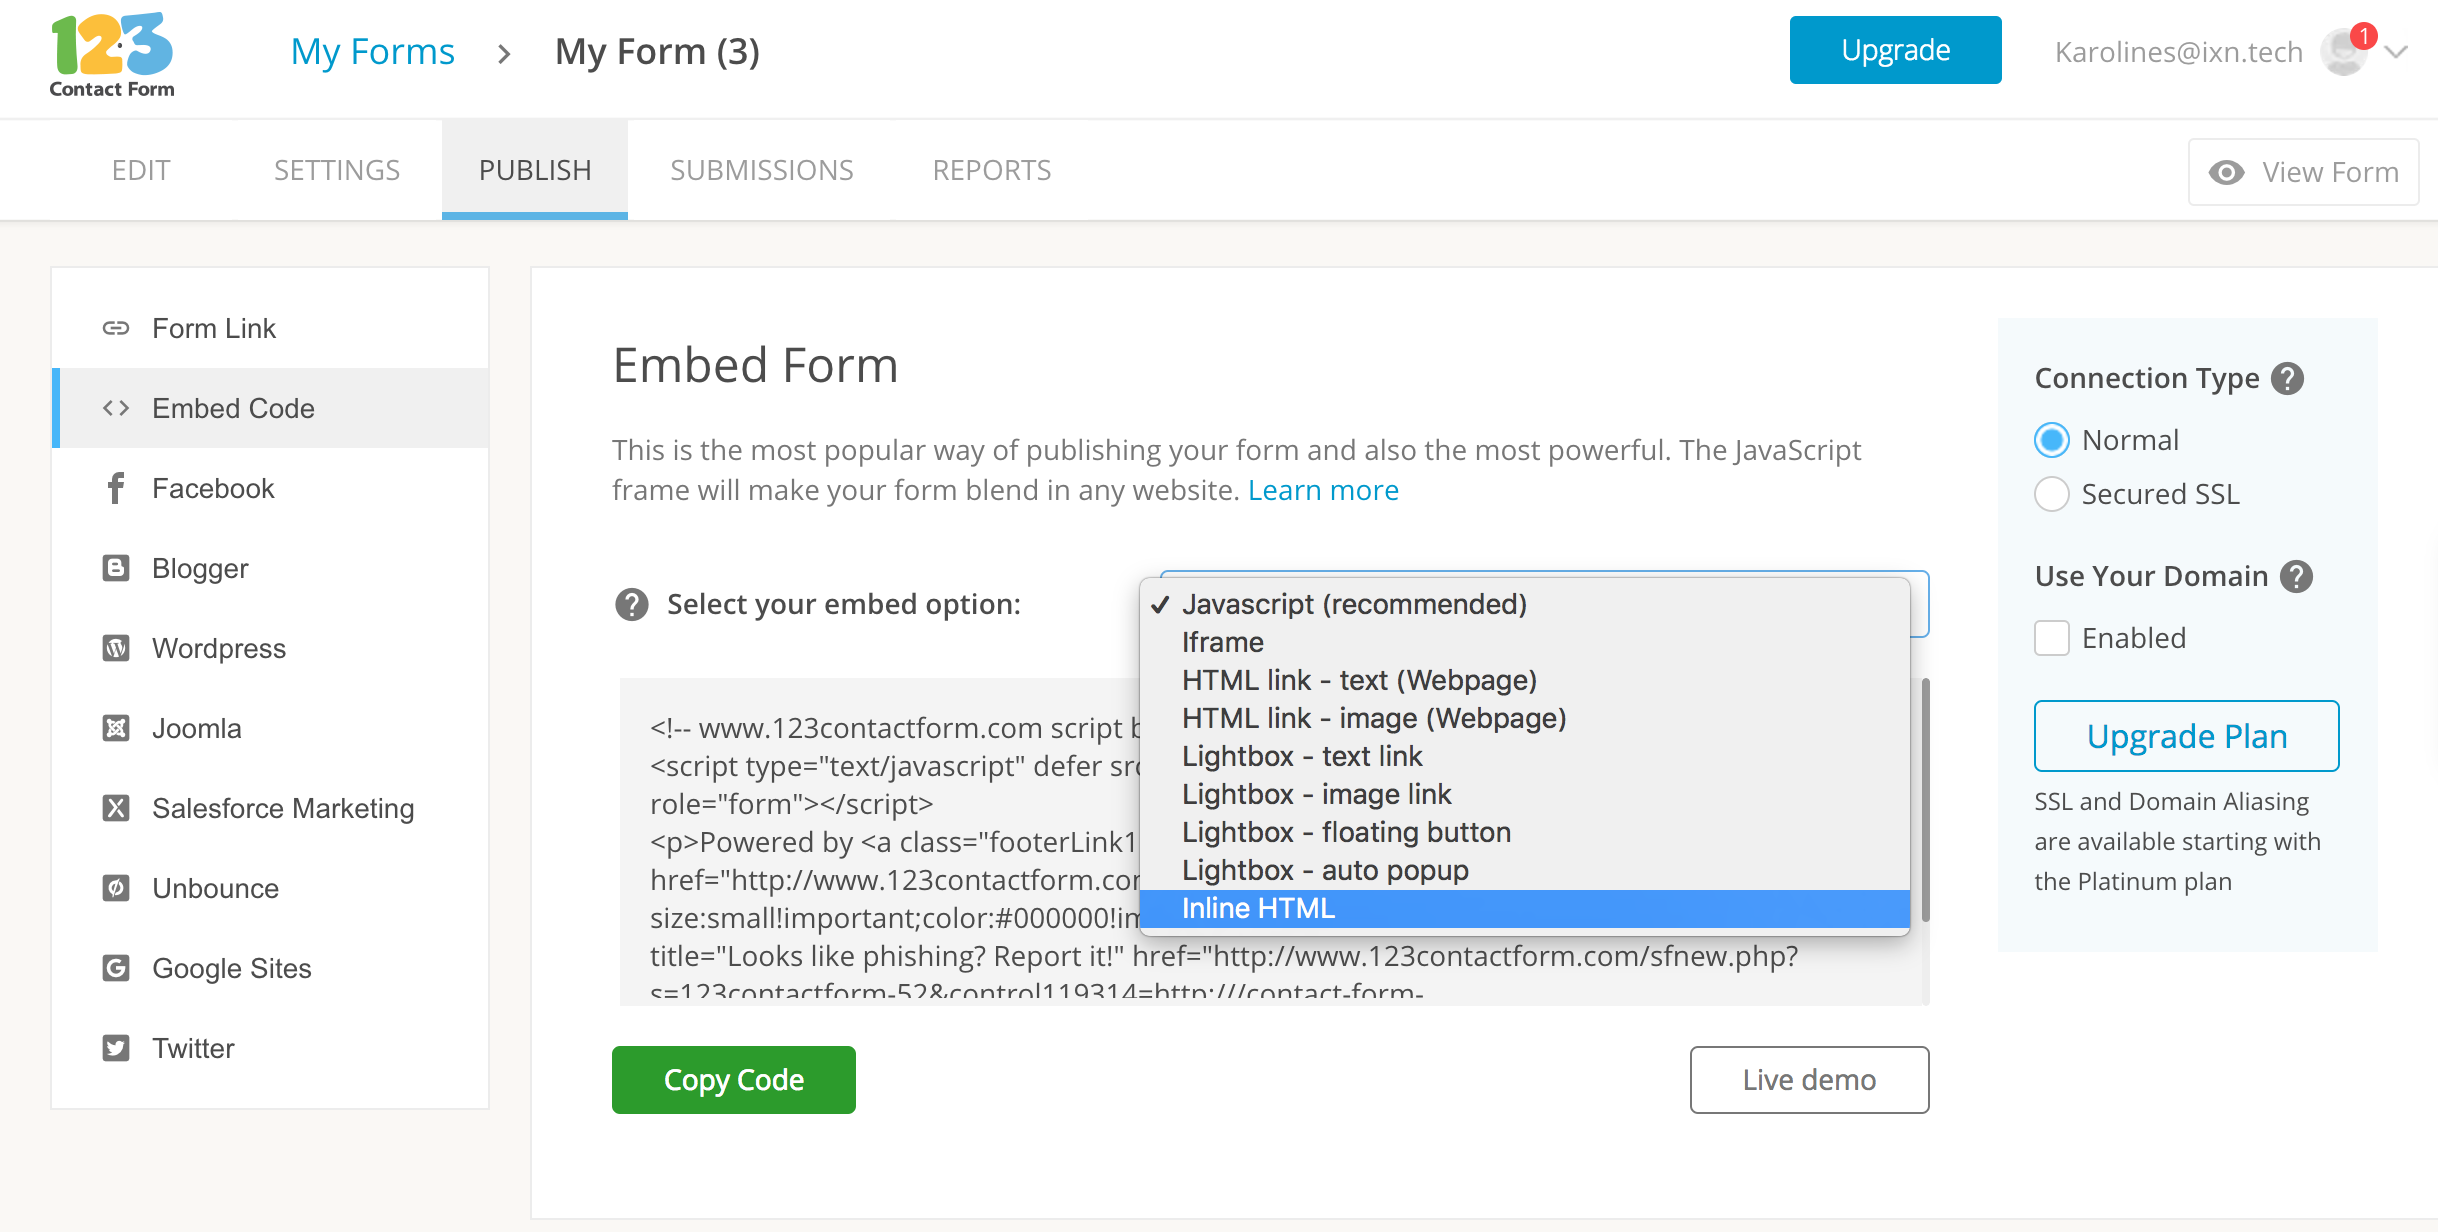
On the left side of the screen, under "Form Link" it will say "Embed Code". Click on "Embed Code".
You will now see the page below. There will be a dropdown field where you can select you embed option. Click on it and select "Inline HTML". Once you have done so, click "Copy Code".
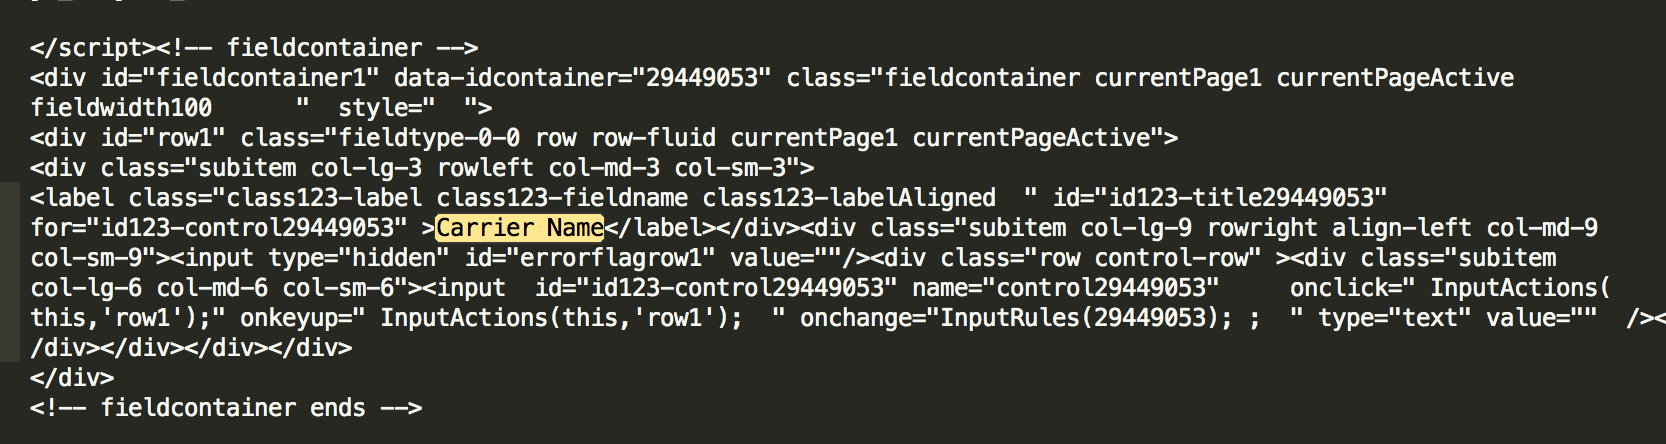
Next, open a word document or somewhere to paste the "Inline HTML". Once you have done so, press "command" and "f" at the same time on your keyboard. This will allow you to search the document. Once the search bar appears, type "Carrier Name" and click enter. It will highlight the phrase you are looking for. In the image below, you will see "Carrier Name" highlighted. To the left of the highlighted phrase, you will see the following "control29449053". I want you to look for this code next to where it says "Carrier Name" in your own word document, highlight it, and copy it. It will always start with "control" but will have different numbers following it.
Once you have copied this code, go back to the tab where the URL is.
You will add an "&" sign and paste the code directly after. It should look something like this now:

After the code, type "=" followed by the field title that corresponds with the field name "Carrier Name". In this case, it's "|*carrier_name*|".
Corresponding field names and titles will be found in the chart from step 13.
The URL will now look like this:

We will now repeat this process for "Face Amount".
Add "&" following the Carrier Name field title. The "&" sign will go between each field title that is added.
The URL will now look like this:

Next, go back to your word document that contains the inline HTML. Press "command" and "f" at the same time to search. Once the search bar appears, type "Face Amount" and click enter. You should now see "Face Amount" highlighted. Preceding it, should be "control" followed by a series of numbers. Highlight and copy this. It will look something like this: control29449305

Go back to the tab with your URL once you have done so. Go ahead and paste this code following the "&" symbol.
Your URL will look like this now:

After the code, type "=" followed by the field title that corresponds with the field name "Face Amount". In this case, it's "|*face_amount*|"
Corresponding field names and titles will be found in the chart from step 13.
Your URL will now look something like this:

If you added any other fields, please follow the directions given in this step for those as well. If these were the only two fields you created, copy the finished URL.
17. Open a new tab and go to dashboard.ixn.tech
18. Enter your email and password, then click "Login".
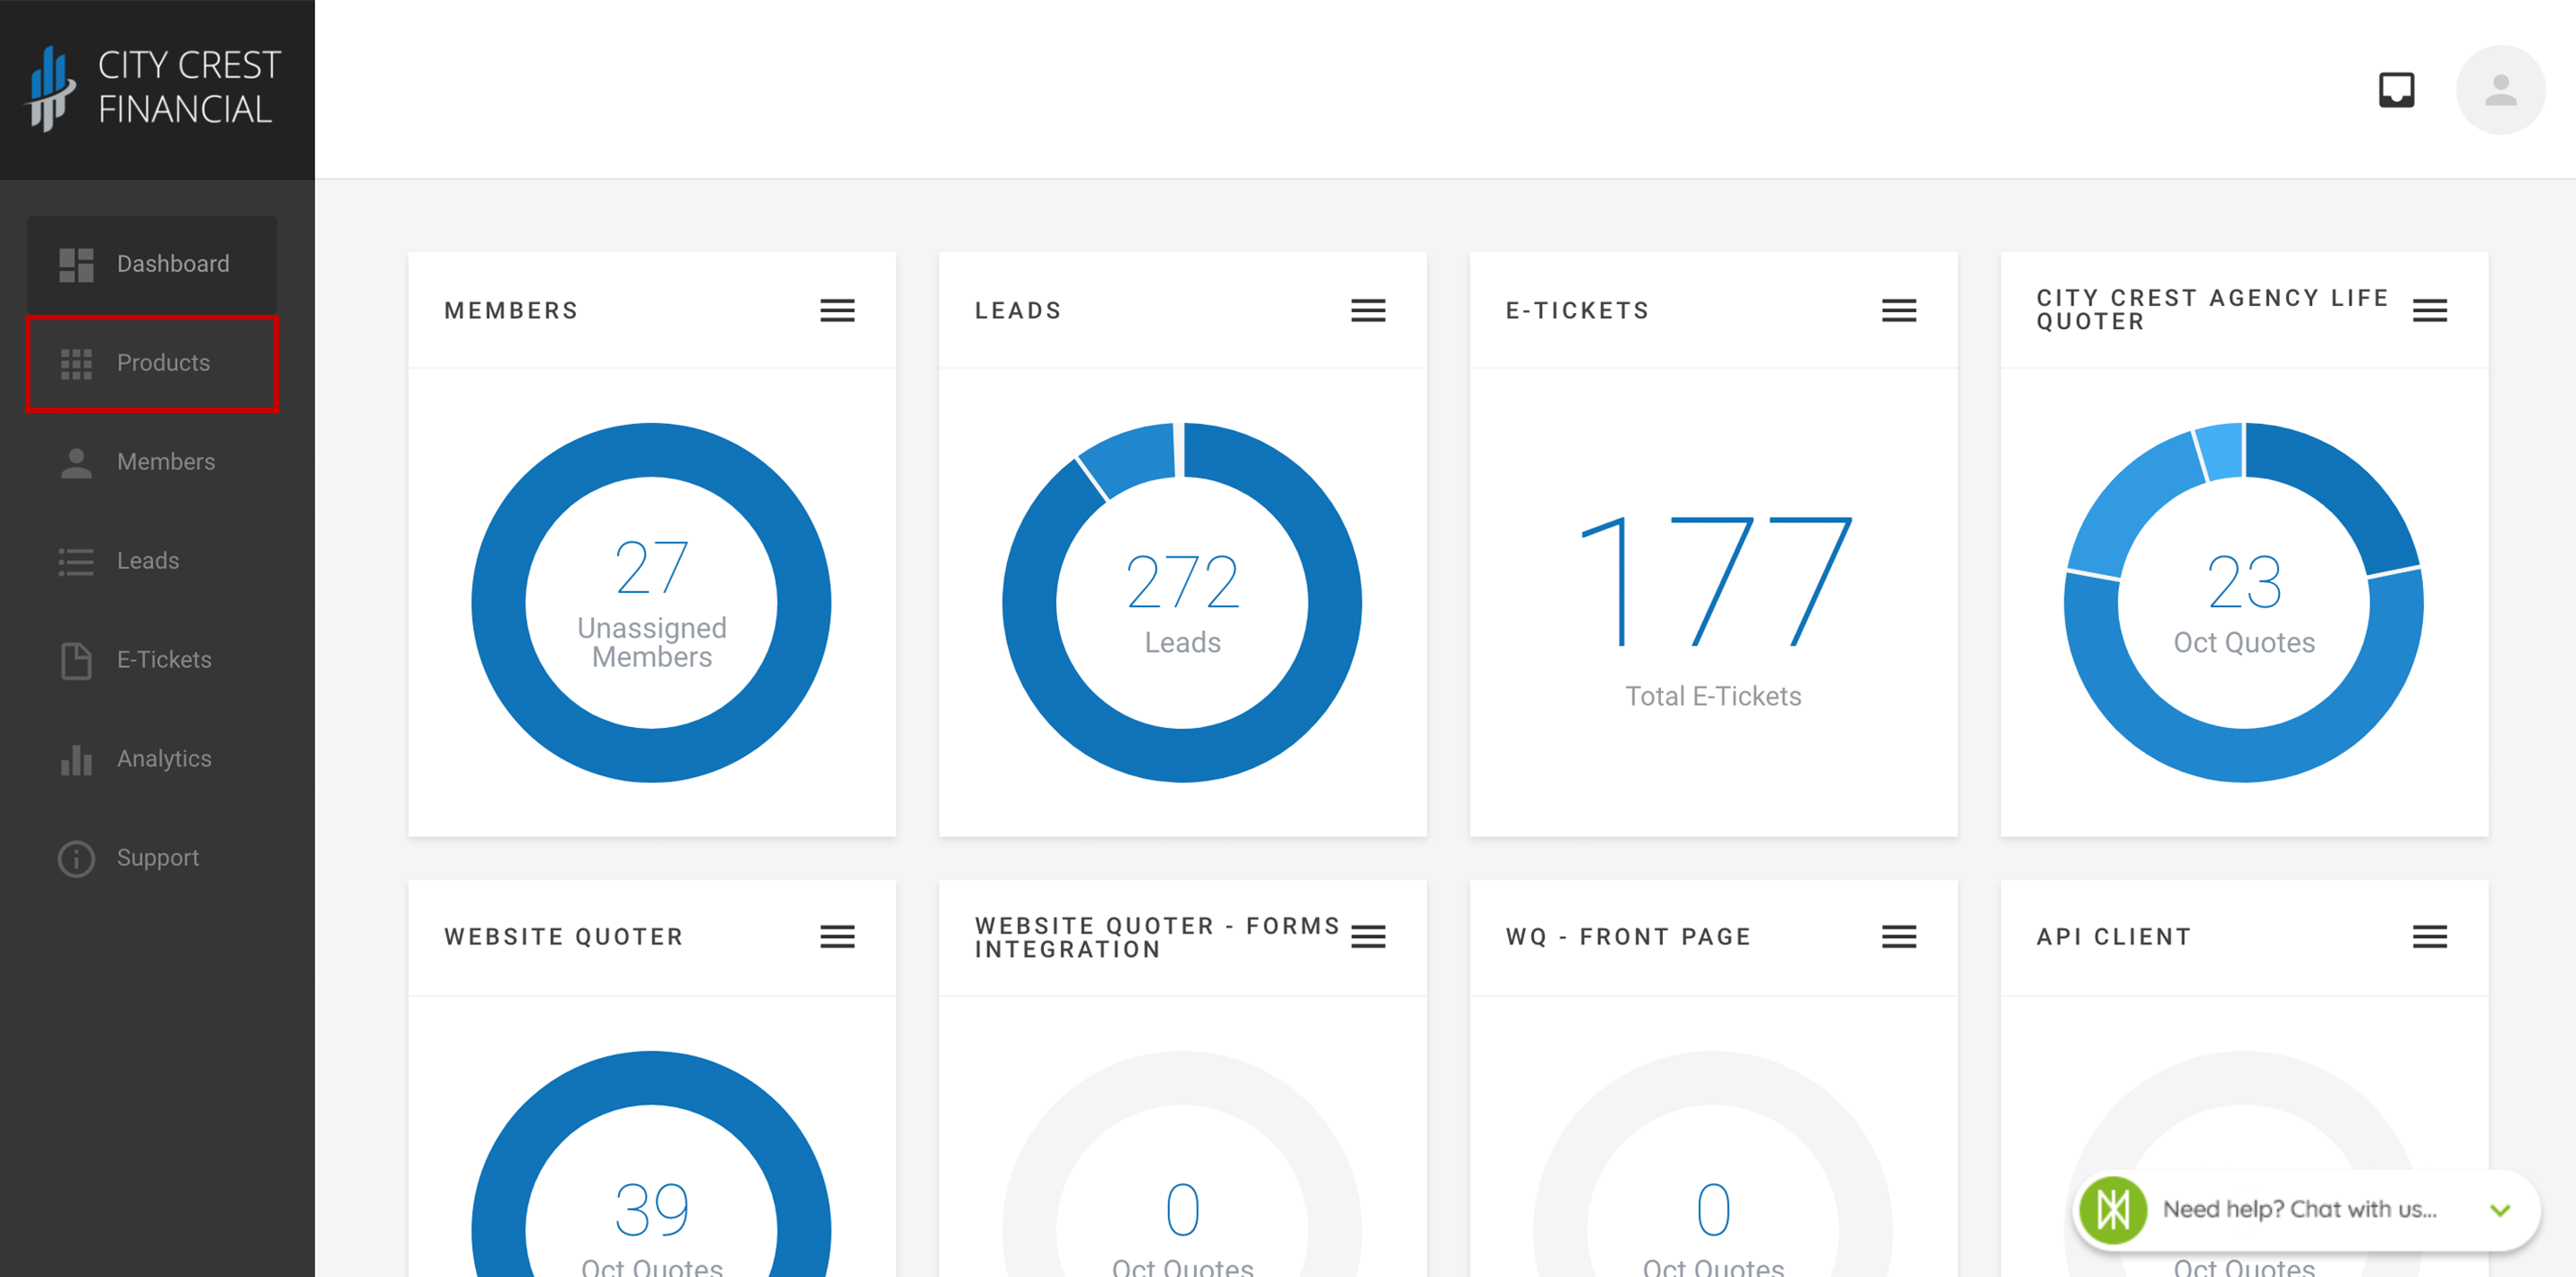
19. Once you are logged in, click "Products" in the navigation on the left-hand side.
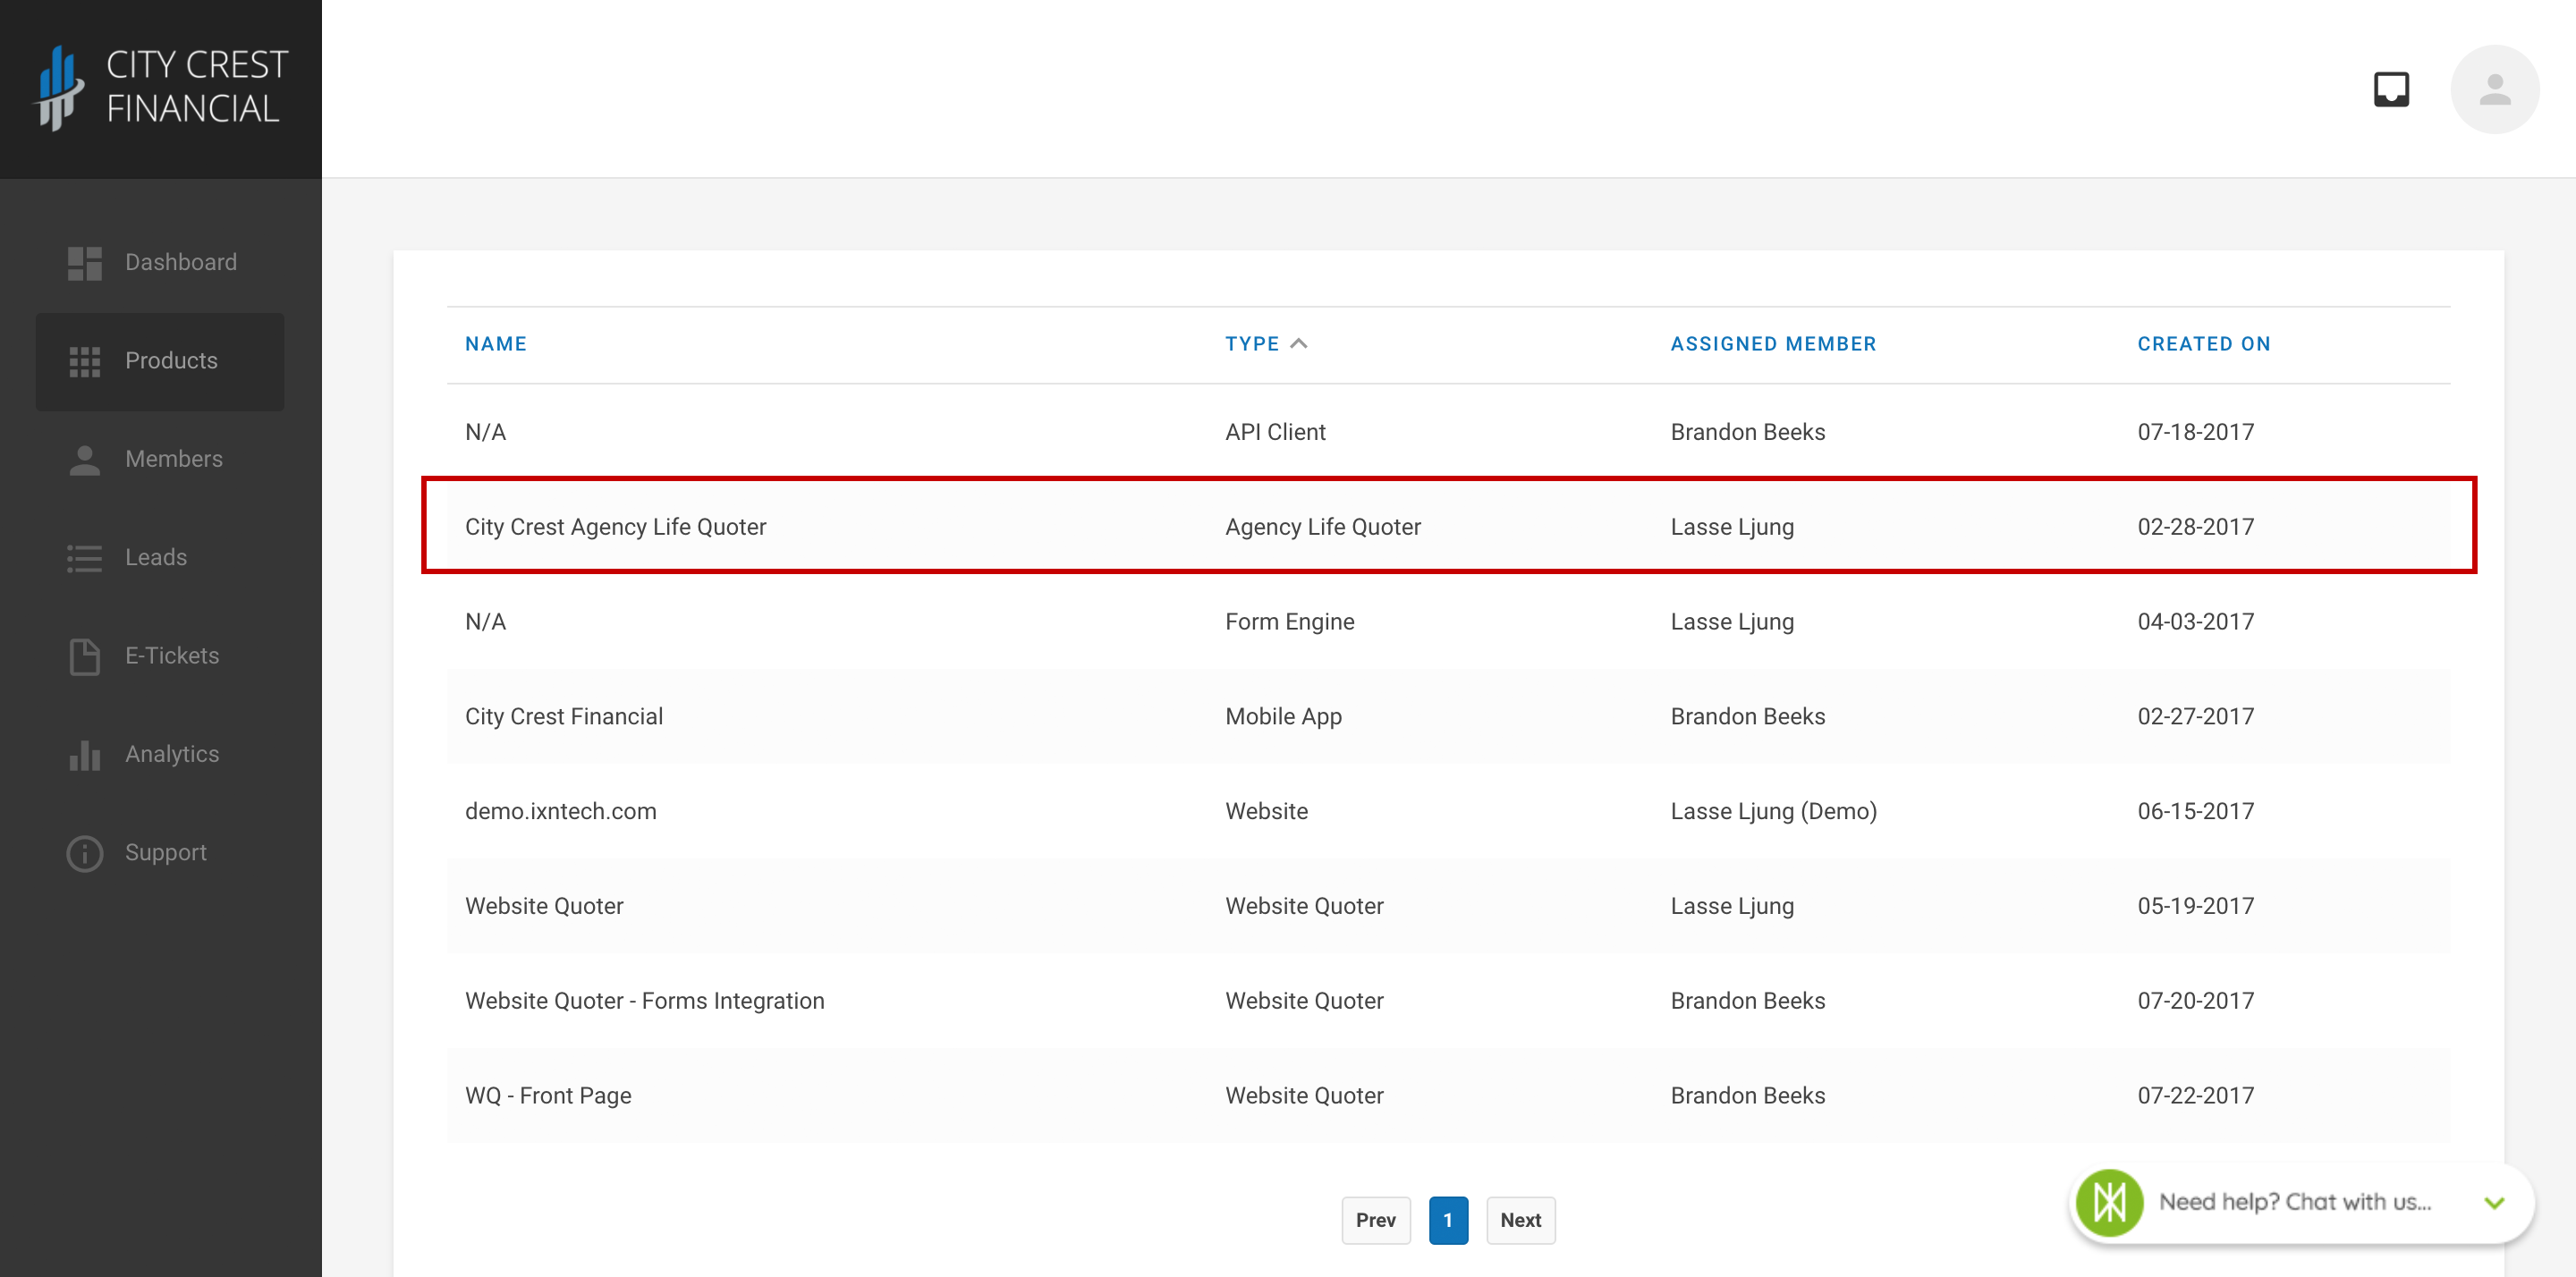
20. Find your Agency Life Quoter, Mobile App, or Website Quoter in your list of products. Click on the name.
21. Click "Settings" at the top of the page. For the Agency Life Quoter and Mobile app, Select "Quote Actions" in the dropdown. For the Website Quoter, please follow these steps.
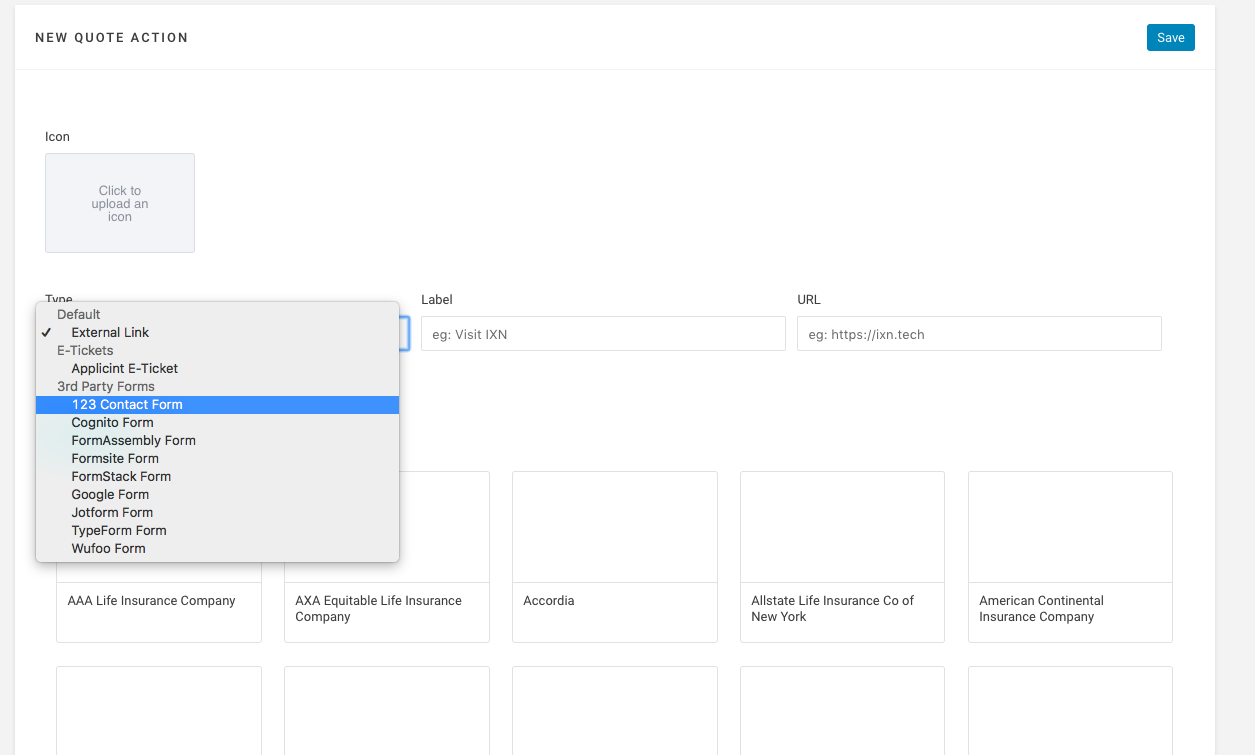
22. Click "Create New Action" in the upper right-hand corner.
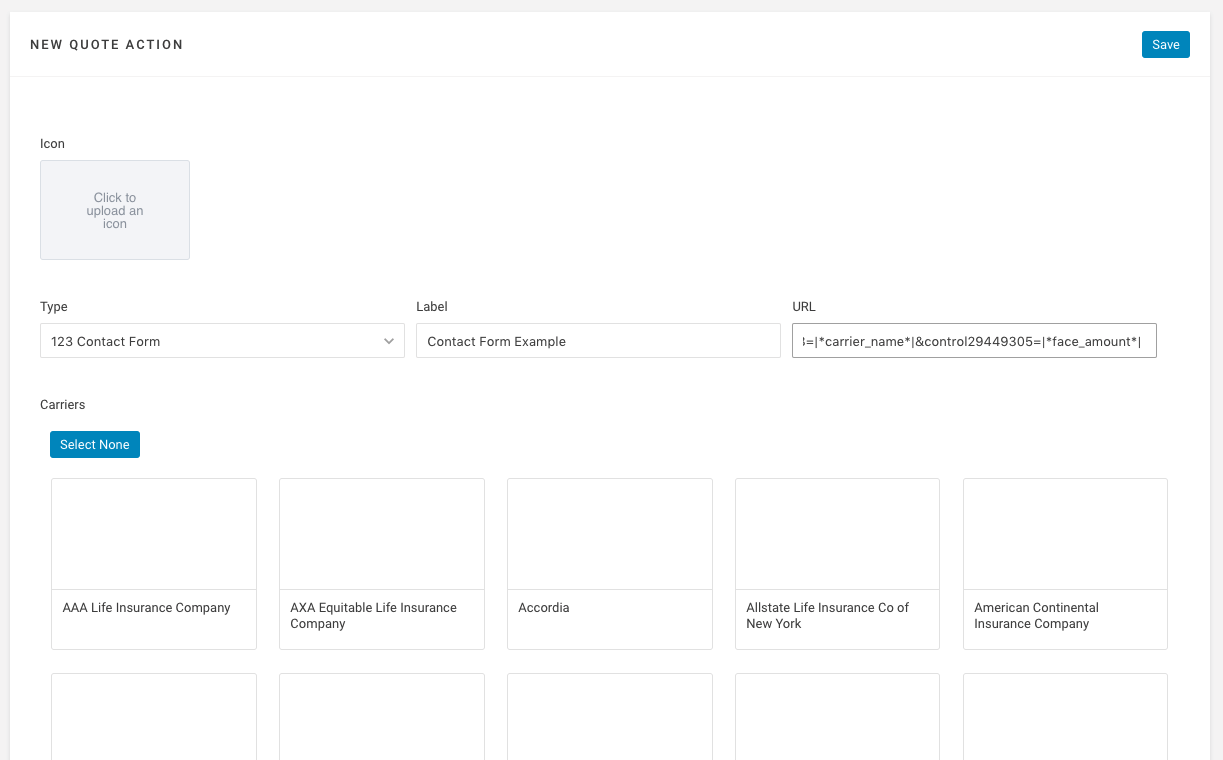
23. Next we will edit the type, label, and URL. First click on the dropdown field beneath "Type" and select "123 Contact Form".
24. Next, lets edit label. Click on the field beneath "Label" and name your action. It can be whatever you like, but we will name our action "Contact Form Example".
25. Next, we will paste the URL we just finished altering into the field below "URL". Then click "Save".
26. Now go to your product to run quotes! Enter the quote information and click "View Quotes". We will be using generic information for this tutorial.

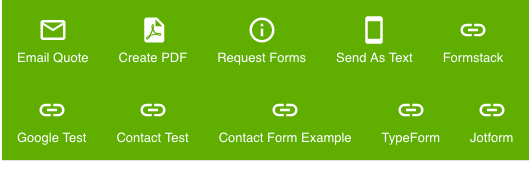
27. Select a quote and you will see a green menu bar. This bar will have any quote actions you have created. We named our quote action "Contact Form Test" so we will click on that.
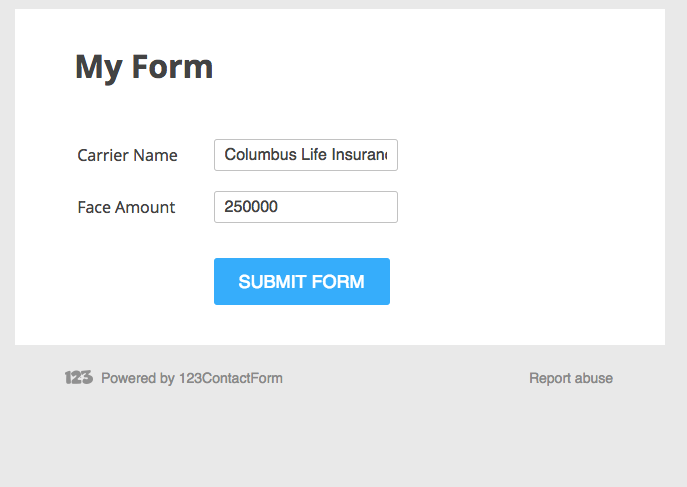
28. A new page with the form we created will open. You will also notice that the fields are all pre-filled with information pulled from the quote! Step 16 is what makes this possible. If step 16 was done incorrectly, this may or may not work. If you find your form isn't pre-filled, take another look at step 16 and try again. If your form looks as it should, click "SUBMIT FORM" to submit!
That is the end of our tutorial! Thank you for following along.
Questions or feedback? Feel free to reach out to our Support Team at support@ixntech.com or call 800-250-5152 #2.