This Integration can be applied to the following Products: Agency Life Quoter (ALQ), Mobile App, Website Quoter.
1. Go to https://www.typeform.com/ and create an account. For what we will be doing, you will need a Pro account.
2. Check your email and confirm account creation.
3. Once confirmed, login to your TypeForm account.
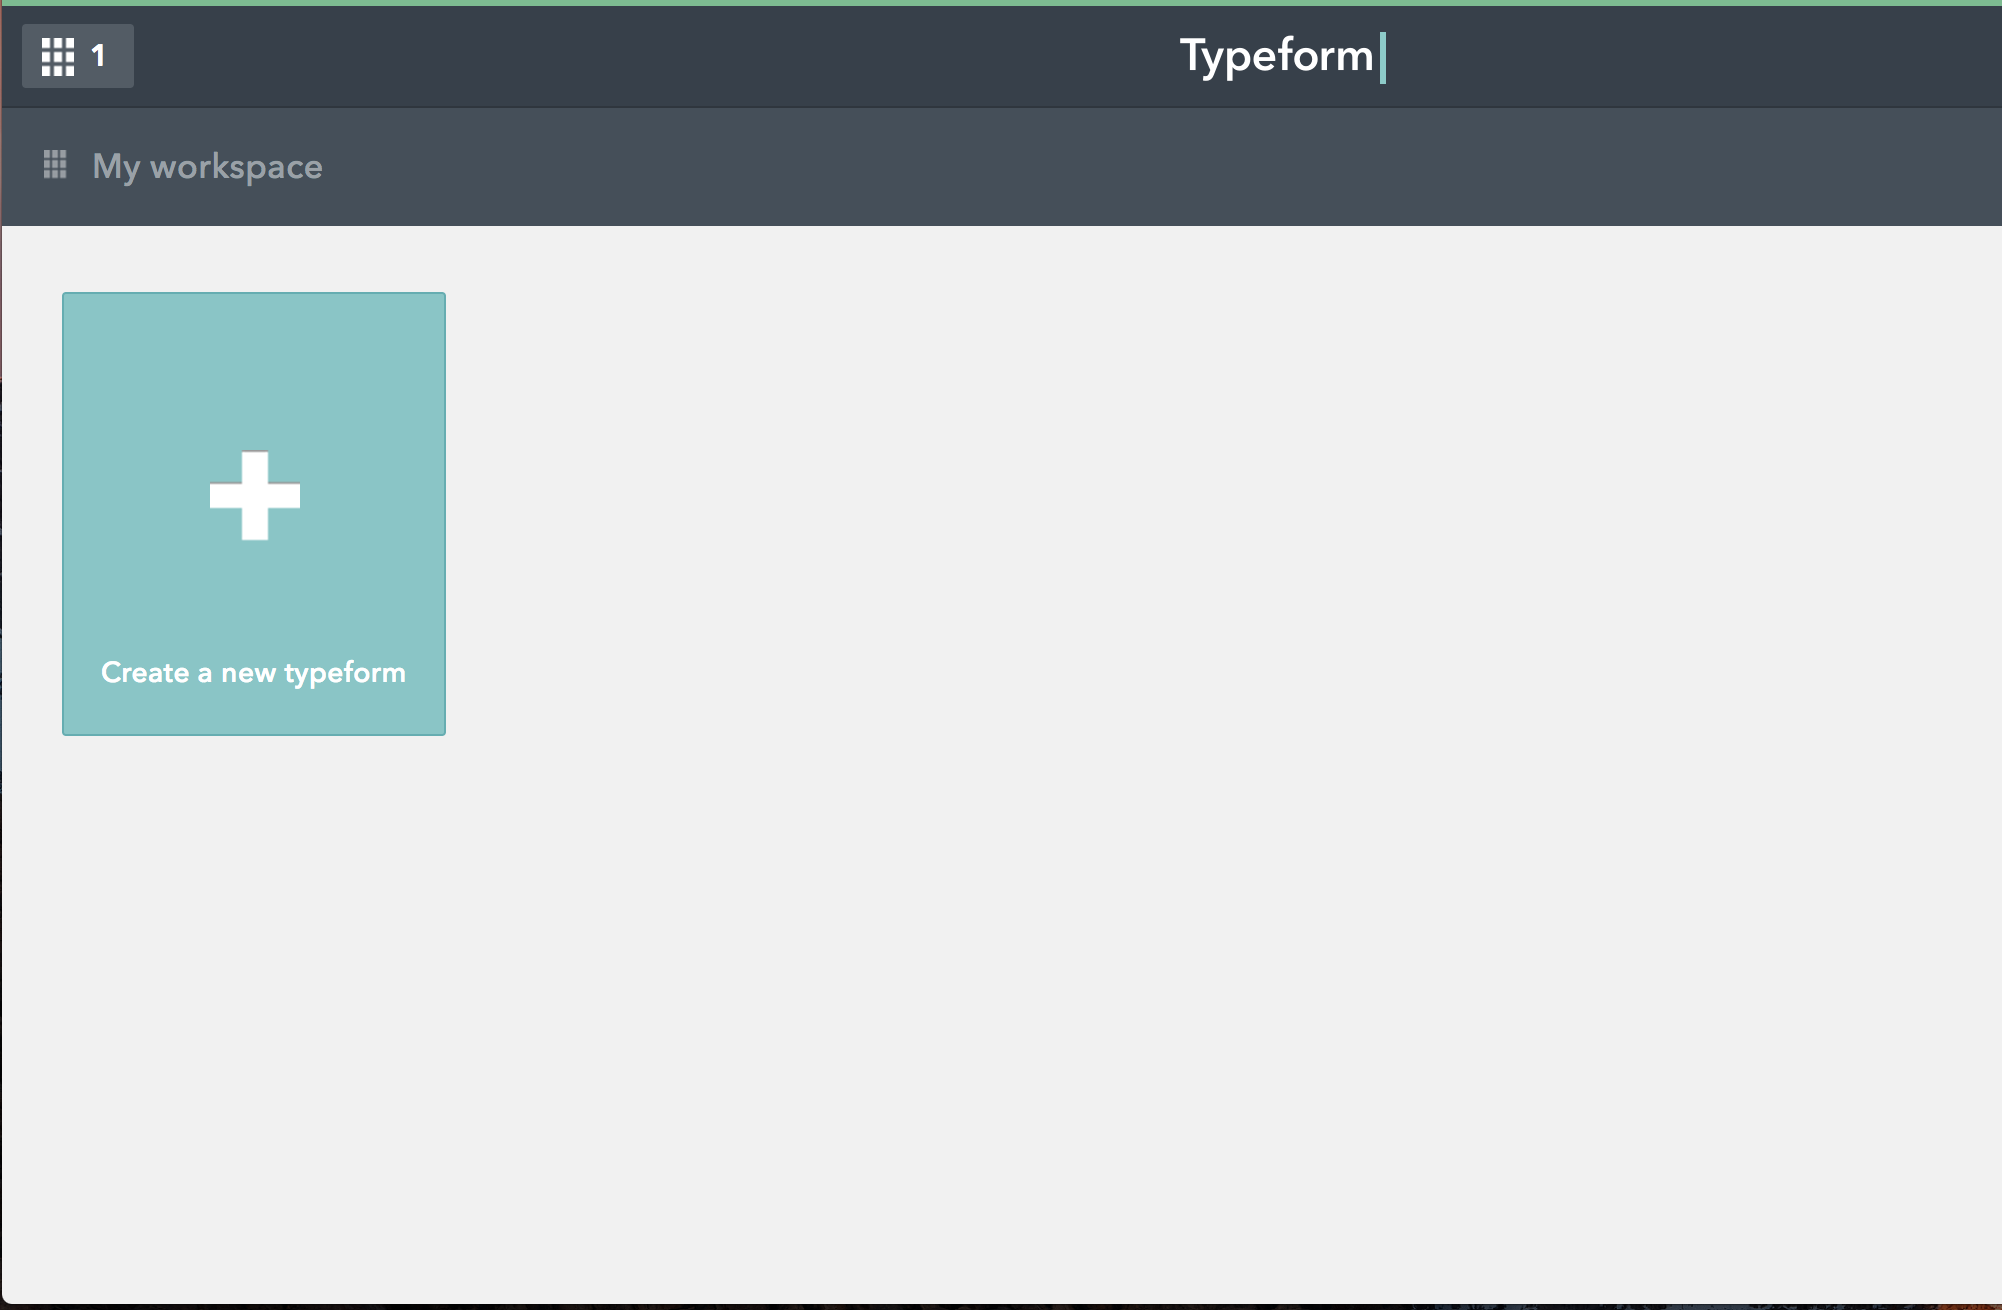
4. Once logged in, click "Create a new typeform".

5. You can either start from scratch or use a template provided. For this tutorial, we will use a blank form. Click "Start from scratch".

6. In the field under "Name your typeform", name your form! It can be whatever you like, but we will name our form "Example #1". Click "Start building!" when you are ready.

7. Lets add some fields! There will be two types of fields we can use, visible fields and hidden fields. Visible fields are fields that will be visible to the user and will need to be filled out. Hidden fields will not be seen by the user, but there will still be data passed to that field. First, lets start with a few hidden fields. Turn on "Hidden fields" at the bottom of the screen.

8. The screen below will appear. Type in the field names you would like to include (more options are listed in the chart below). We will use "Carrier Name" and "Face Amount". To add more hidden variables click the green plus sign. Click "Save" when you are done.

Product Information
| Private Field Names |
| abd_rider_annual |
|
adb_rider_max_coverage |
| adb_rider_monthly |
| adb_rider_quarterly |
| adb_rider_semi_annual |
| age_rate |
| am_best_date |
| am_best_rating |
| base_premium_annual |
| base_premium_monthly |
| base_premium_quarterly |
| base_premium_semi_annual |
| carrier_health_category |
| carrier_id |
| carrier_name |
| child_rider_annual |
| child_rider_monthly |
| child_rider_quarterly |
| child_rider_semi_annual |
| carrier_health_category |
| carrier_id |
| carrier_name |
| child_rider_annual |
| child_rider_monthly |
| child_rider_quarterly |
| child_rider_semi_annual |
| child_rider_unit_coverage |
| child_rider_units |
| child_wop_rider_annual |
| child_wop_rider_monthly |
| child_wop_rider_quarterly |
| child_wop_rider_semi_annual |
| face_amount |
| flat_extra_annual |
| flat_extra_monthly |
| flat_extra_quarterly |
| flat_extra_semi_annual |
| gender |
| guid |
| ixn_health_category |
| policy_fee_annual |
| policy_fee_monthly |
| policy_fee_quarterly |
| policy_fee_semi_annual |
| premium_annual |
| premium_monthly |
| premium_quarterly |
| premium_semi_annual |
| product_id |
| product_name |
| product_type |
| rate_age |
| table_rate_annual |
| table_rate_id |
| table_rate_letter |
| table_rate_monthly |
| table_rate_percent |
| table_rate_quarterly |
| table_rate_semi_annual |
| wop_rider_annual |
| wop_rider_monthly |
| wop_rider_quarterly |
| wop_rider_semi_annual |
Quote Information
| Private Field Names |
| age_type |
| agent_email (mobile only) |
| agent_first_name (mobile only) |
| agent_last_name (mobile only) |
| agent_phone (mobile only) |
| current_age |
| date_of_birth |
| dob_day |
| dob_month |
| dob_year |
| first_name |
| last_name |
| nearest_age |
| referrer_url |
| tobacco |
9. Now let's add some visible fields. Drag and drop "Short text" from the left side of the screen to where it says "Drag and drop questions here". Once you do so, a screen will appear that allows you to edit your field. In the empty box under "Question" name your field. We will name our field "First Name". When you are done click "Save".

10. Repeat step 9, except name the field "Last Name".

11. Click "Share" near the top of the screen. You will see the screen below. Click "Copy" to copy the URL listed.

12. Open a new tab and paste the URL in the search bar. It should look something like this:

13. Now we are going to edit this URL. We are going delete everything after X. It should look something like this:

Highlight and copy the finished URL!
14. Open a new tab and go to dashboard.ixn.tech
15. Type in your email and password, then click "Login".
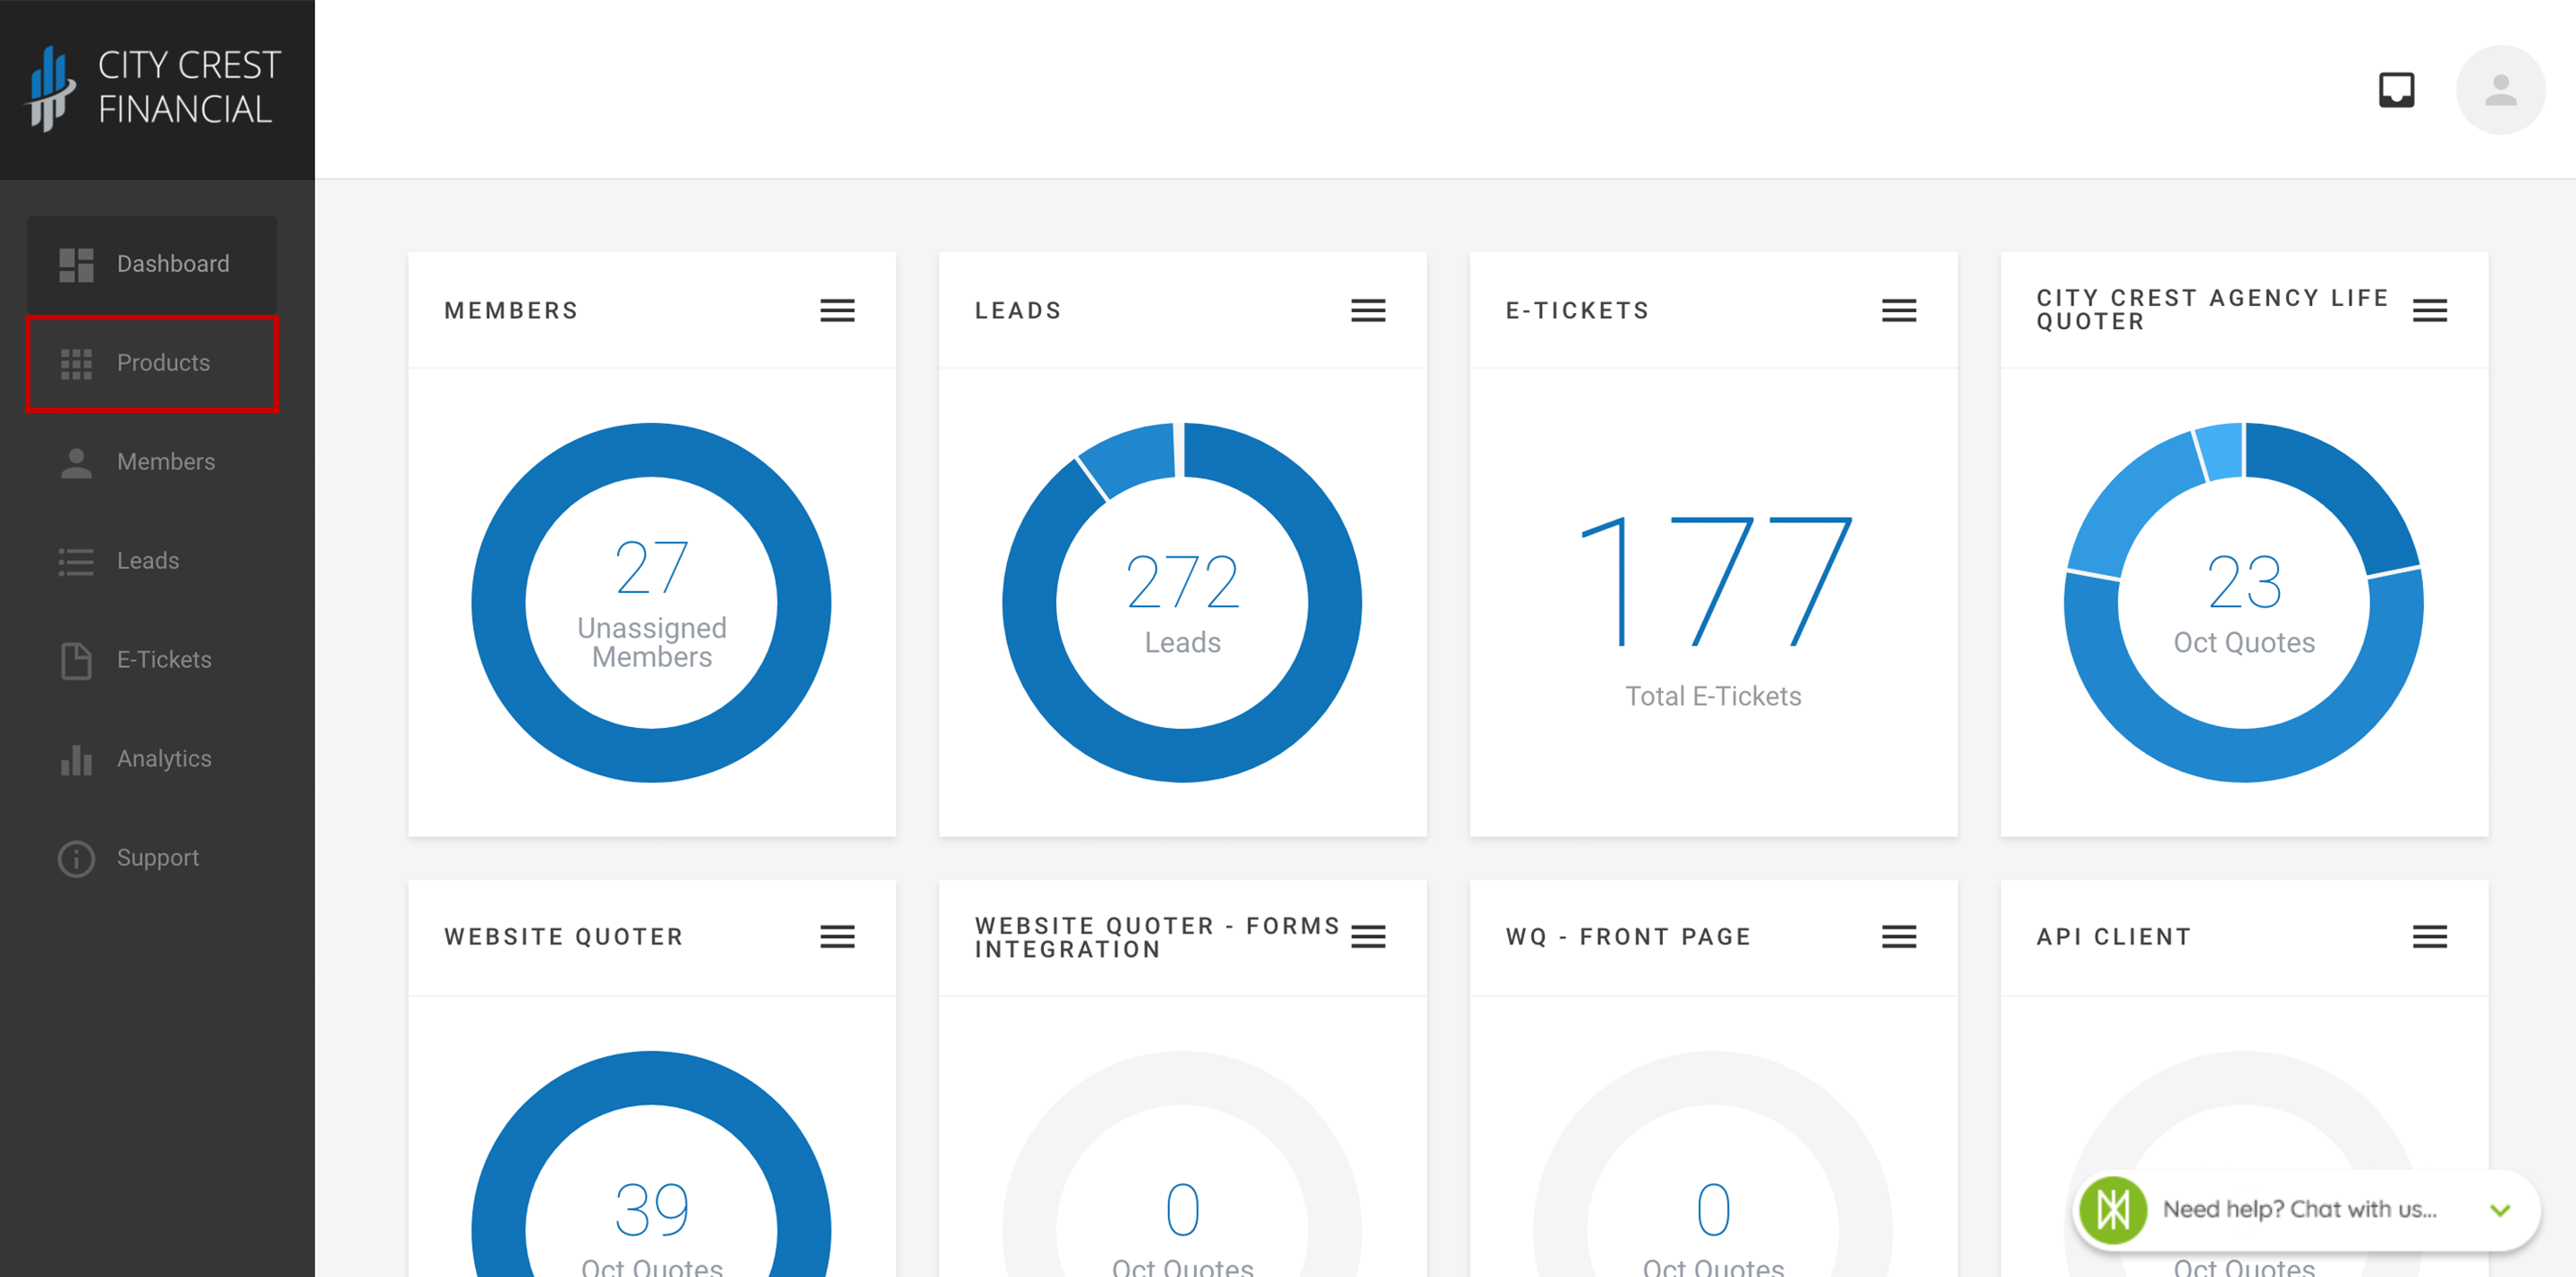
16. Once you are logged in, click "Products" in the navigation on the left-hand side.

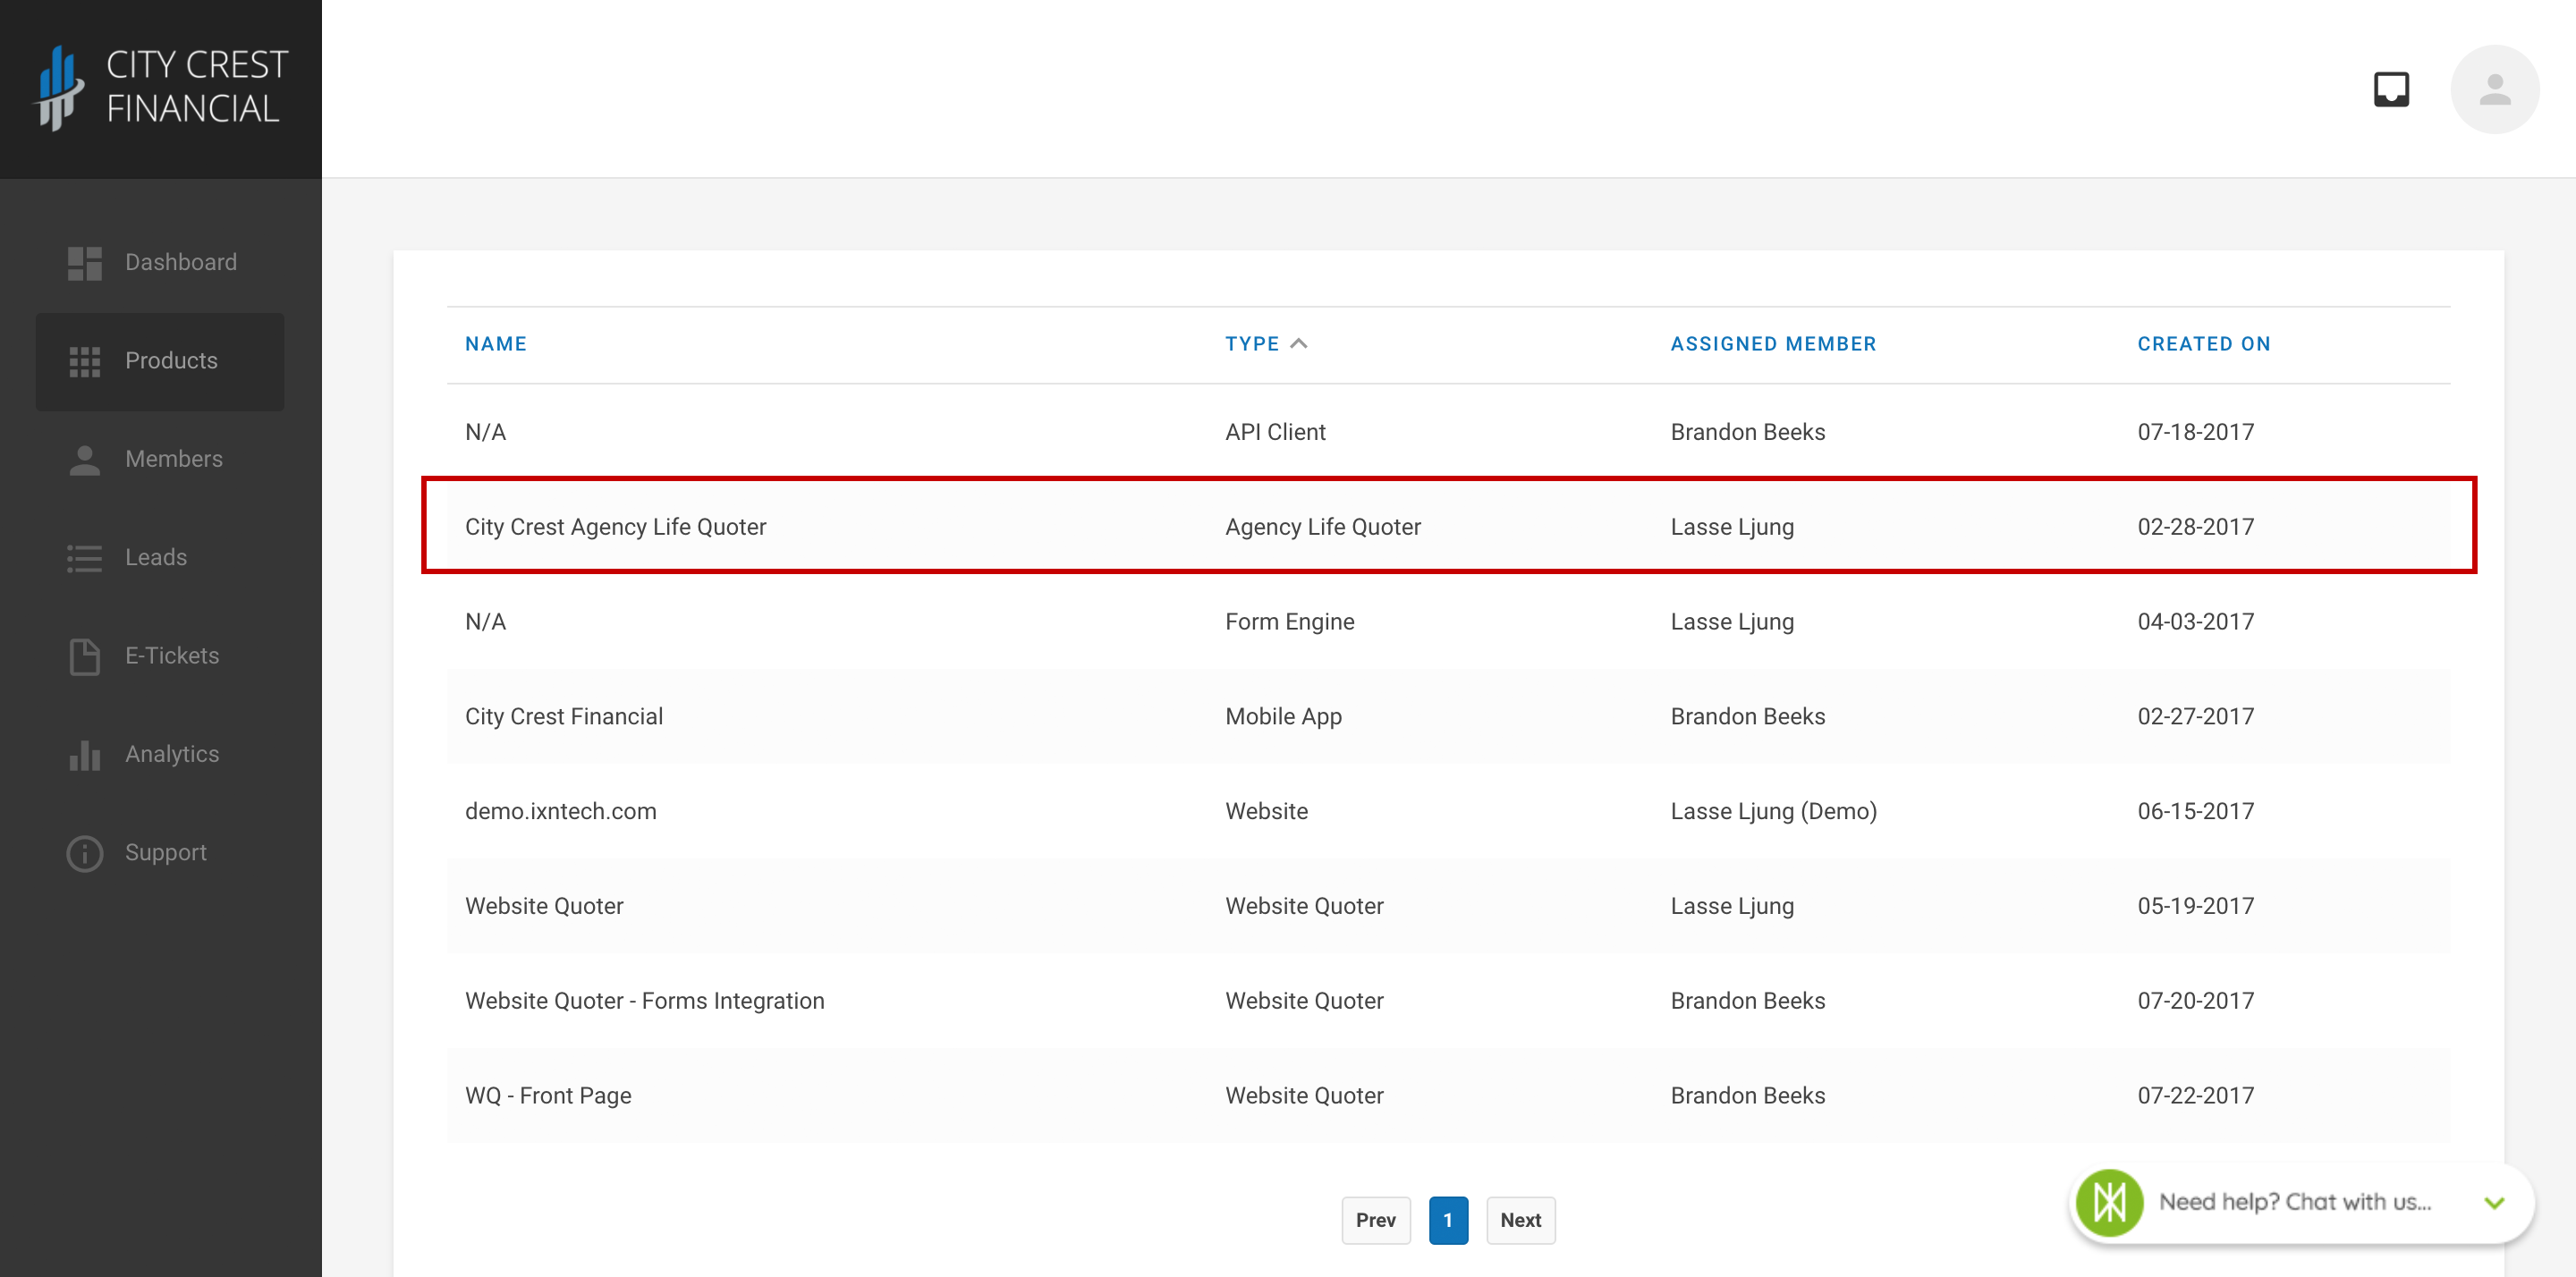
17. Find your Agency Life Quoter, Mobile App, or Website Quoter in your list of products. Click on the name.

18. Click "Settings" at the top of the page. For the Agency Life Quoter and Mobile app, Select "Quote Actions" in the dropdown. For the Website Quoter, please follow these steps.
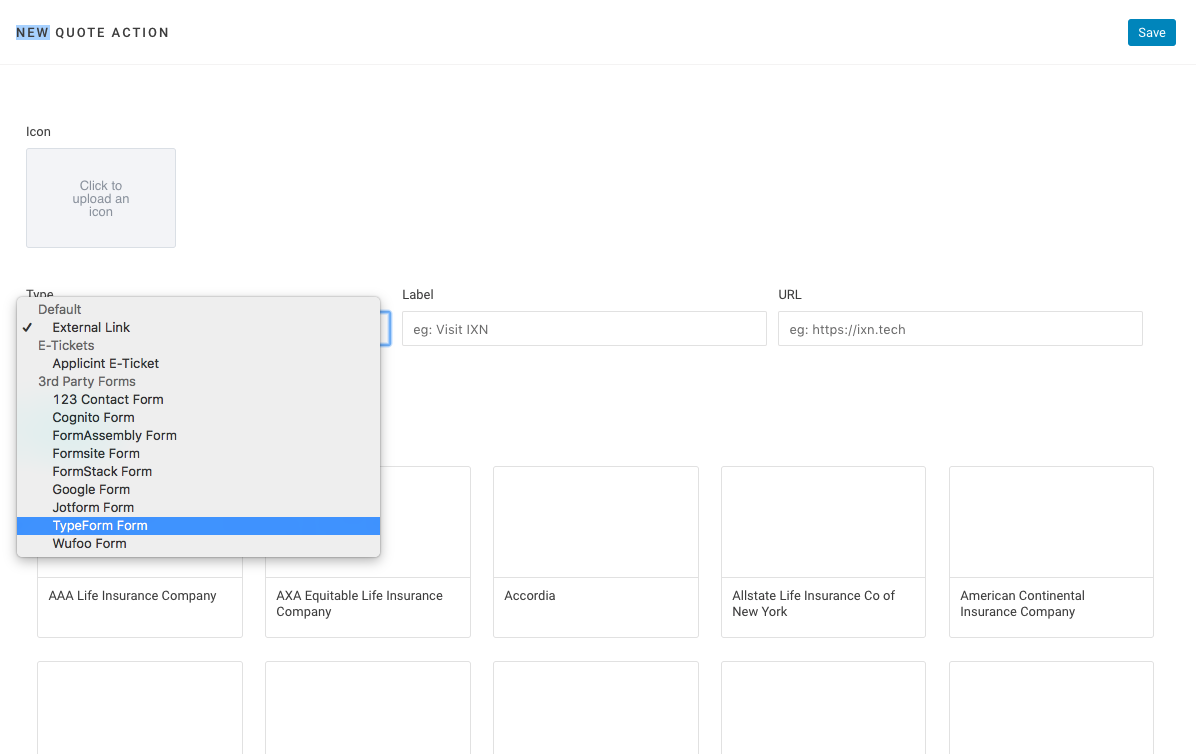
19. Click "Create New Action" in the upper right-hand corner.
20. On this page we will edit the type, label, and URL. First click the dropdown field under "Type". Select "TypeForm Form".

21. Next click on the field beneath "Label". Here you will name your quote action. It can be whatever you like. We will name our quote action "TypeForm Example".
22. Now we will paste the URL we just finished altering into the field beneath "URL". When you are done click "Save".

23. Now go to your product to run quotes! Enter the quote information and click "View Quotes". For this tutorial we will use generic information.

24. Once you click on a quote, you will see a green menu bar that lists any quote actions you have created. We named our quote action "TypeForm Example" so we will click on that.

25. A new page will open that has the form we created! You will notice you can only see the visible fields. Fill those out, and click "Submit" to submit the form.
That is the end of our tutorial! Thank you for following along.
Questions or feedback? Feel free to reach out to our Support Team at support@ixntech.com or call 800-250-5152 #2.
